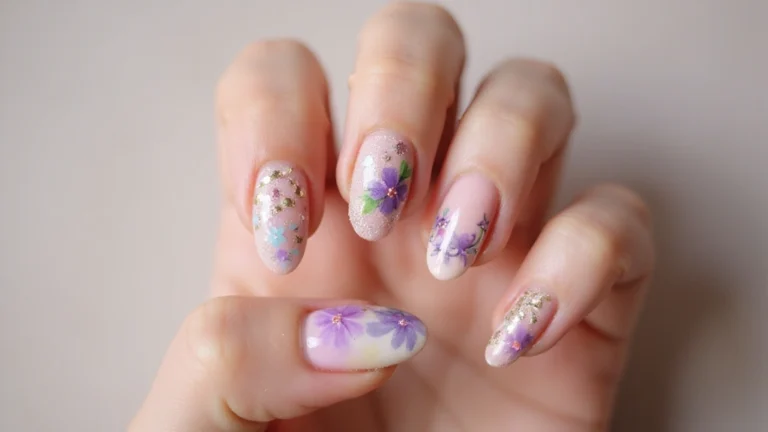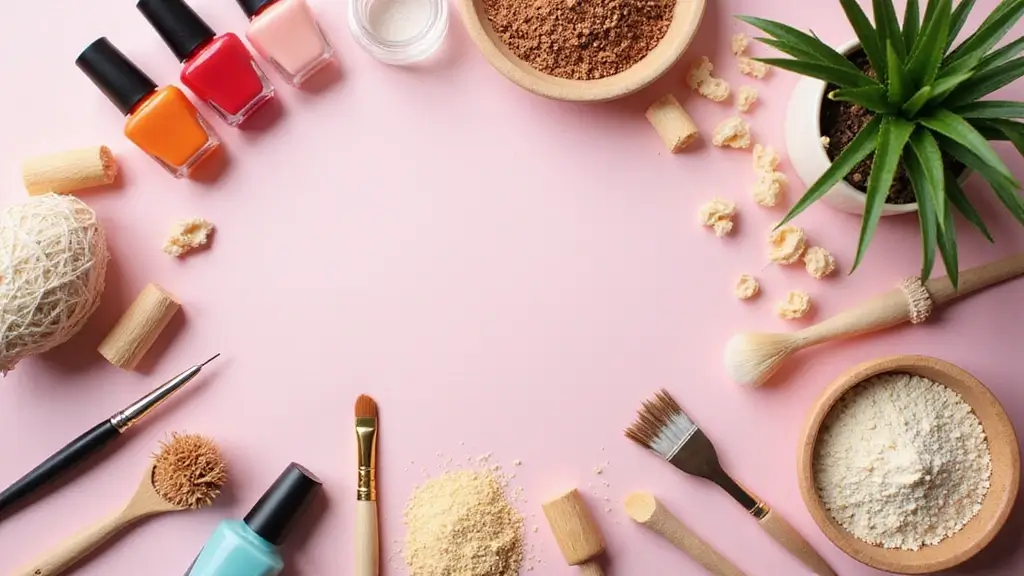
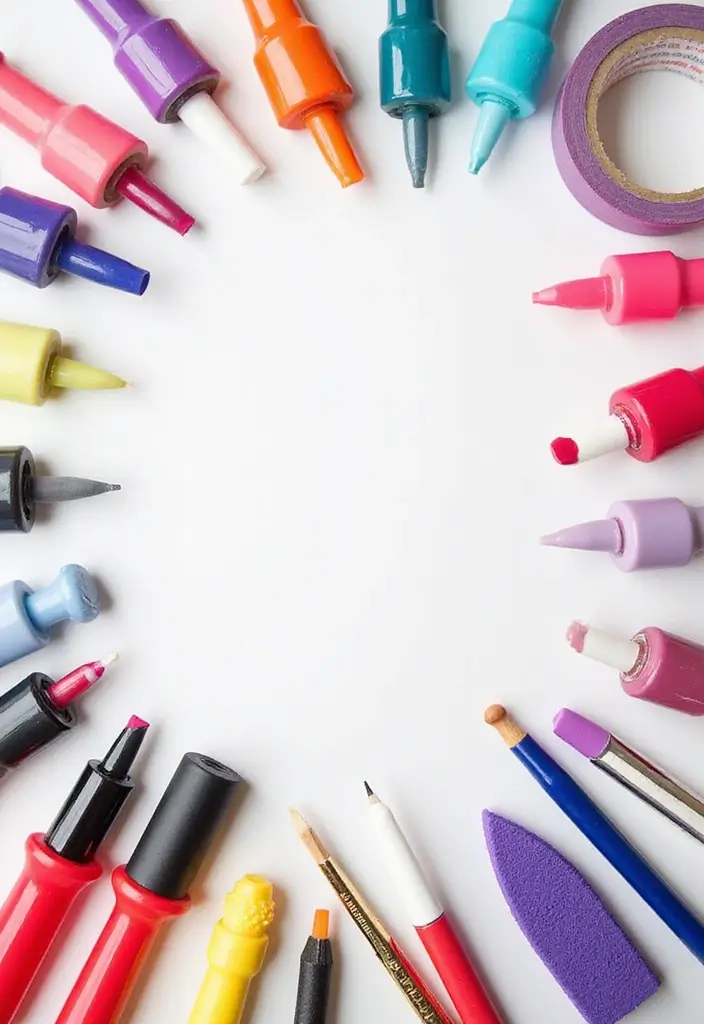
28 Nail Extensions DIY: Tips for Beginners Without a Kit
Nail extensions are a fantastic way to enhance your natural beauty while letting your personality shine through.
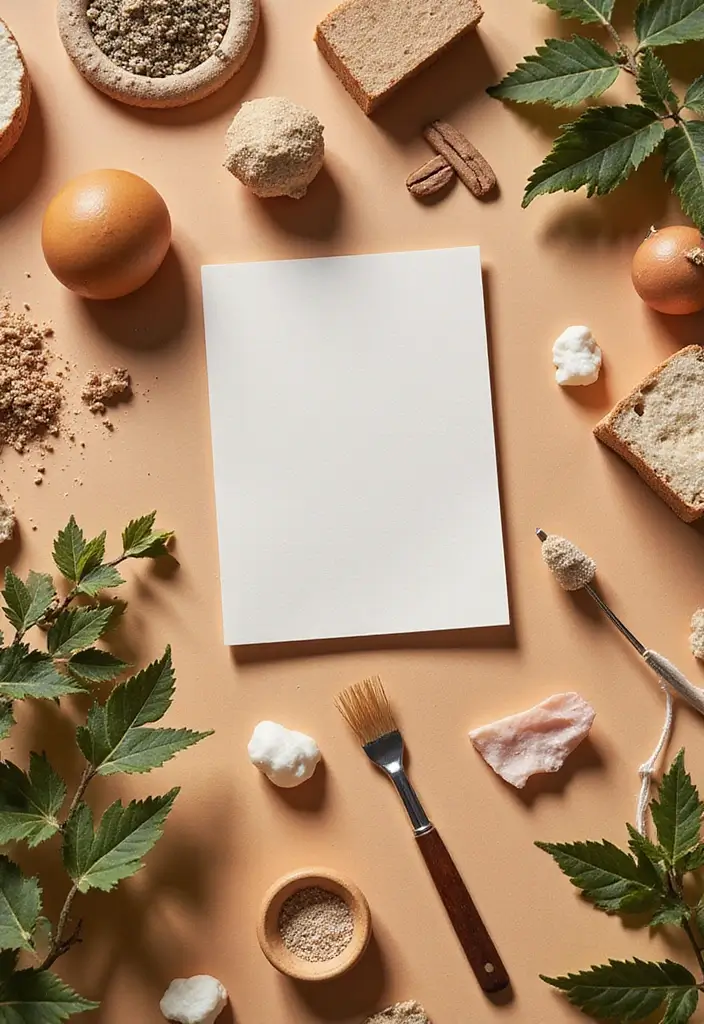
For those who want to explore the world of nail art without breaking the bank or relying on professional kits, DIY nail extensions provide a budget-friendly and eco-conscious alternative.
In this guide, you’ll discover 28 creative ways to achieve stunning nail shapes, lengths, and techniques using materials you likely have at home. Learn how to shape, create, and style your nails with a focus on eco-friendly practices that make your nail game not only beautiful but also sustainable.
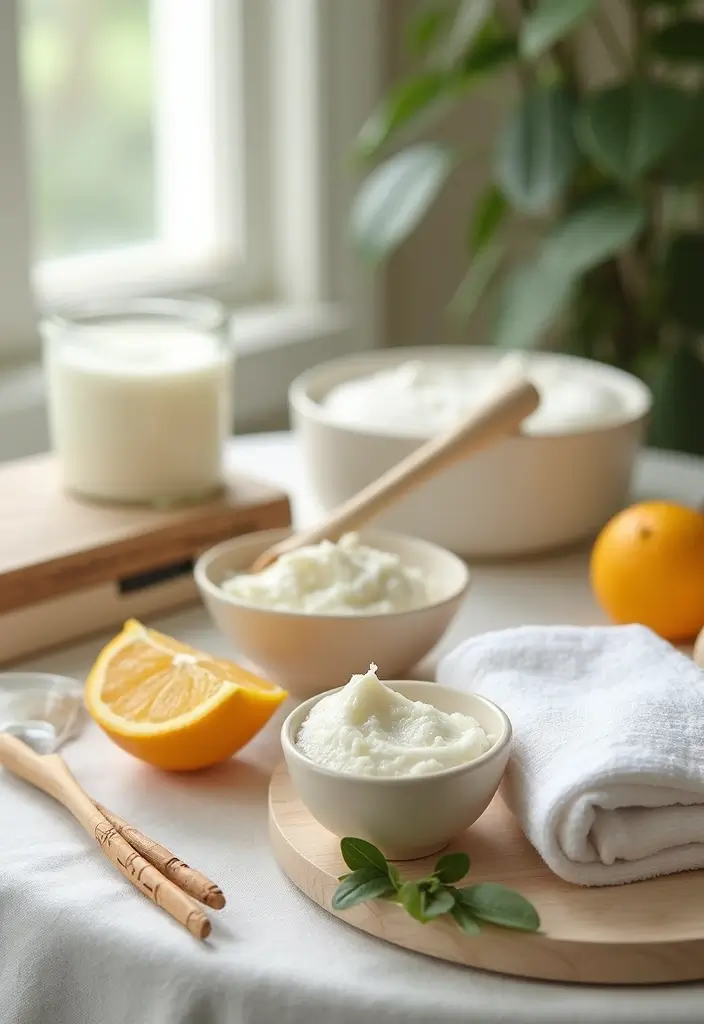
1. The Foundation: Preparing Your Nails
Before you embark on your nail extension journey, prepping your nails is crucial. Start by removing any old polish and gently pushing back your cuticles with a wooden stick or a soft tool.
Next, buff your nails lightly to create a smooth surface for the extensions. This step not only helps the extensions adhere better but also makes your final look more polished and refined. Using an eco-friendly nail file can add an extra touch of sustainability to your routine. Consider applying a base coat to protect your natural nails before applying any extensions.
Don’t forget to wash your hands and keep your workspace tidy! A clean environment will ensure a pleasant DIY experience. Additionally, taking the time to prepare properly can make a significant difference in the final result and the longevity of your nail extensions.
– Use a natural nail polish remover, like one based on citrus oils.
– Opt for wooden tools to minimize plastic waste.
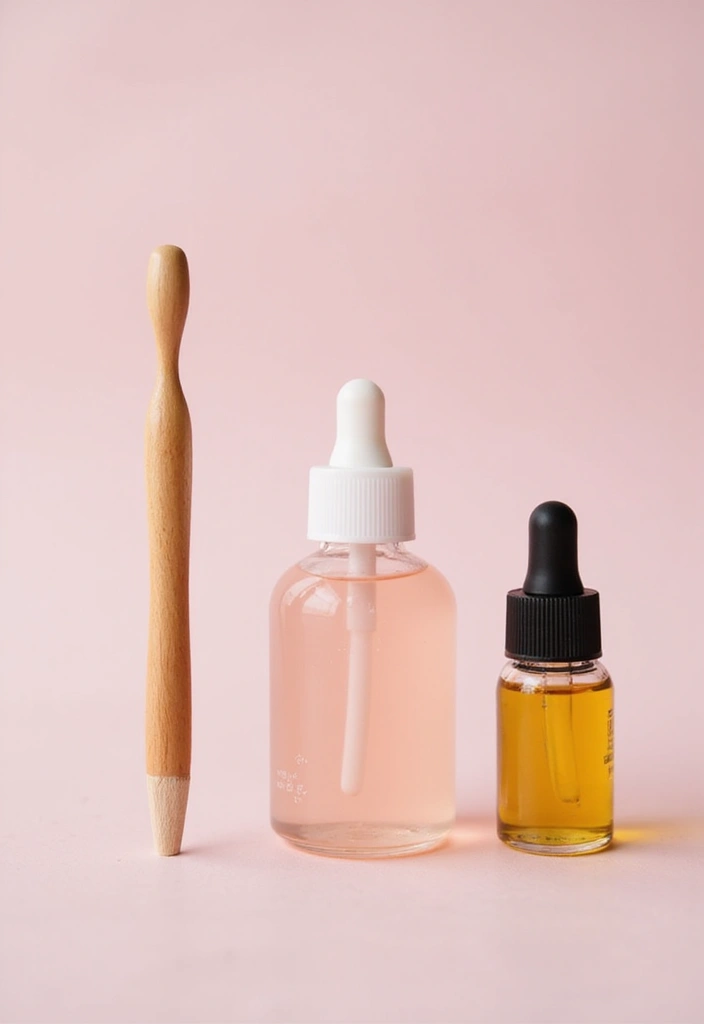
– Keep your nails hydrated with a nourishing cuticle oil post-prep.
2. Easy Tips for Shaping Your Natural Nails
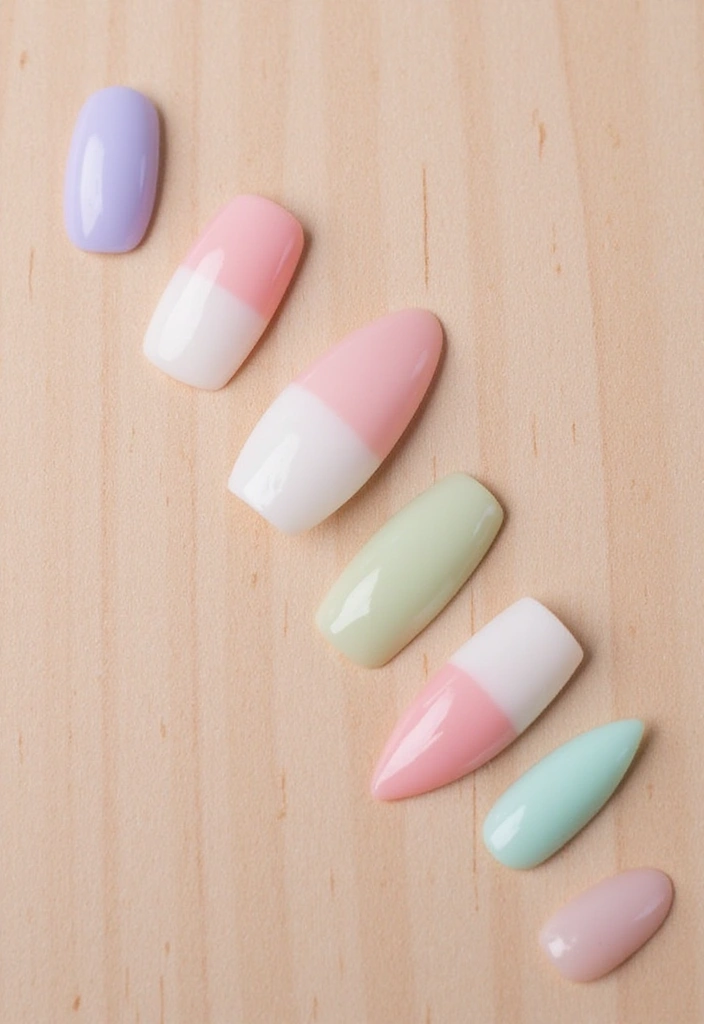
Shaping your nails is an art that can dramatically change your look. Start by deciding on the shape you want: oval, square, almond, or stiletto. Each shape has its charm!
For beginners, the square shape is the easiest to achieve. File the edges straight, then round off the corners for a softer look. If you’re feeling adventurous, try the almond shape by filling the sides inwards towards a point.
Remember to file your nails in one direction rather than back and forth, which can cause splits and tears. Also, when shaping, consider the length – longer nails look stunning, but they also require more maintenance.
– Use a glass nail file for a smoother finish and less damage.
– Don’t rush; take your time in shaping for the best results.
– Remember to check both hands frequently to ensure symmetry.
Shaping your nails is like sculpting a masterpiece! Start with the classic square for a chic look, or dare to go almond for a touch of elegance. Remember, file in one direction for the healthiest nails!
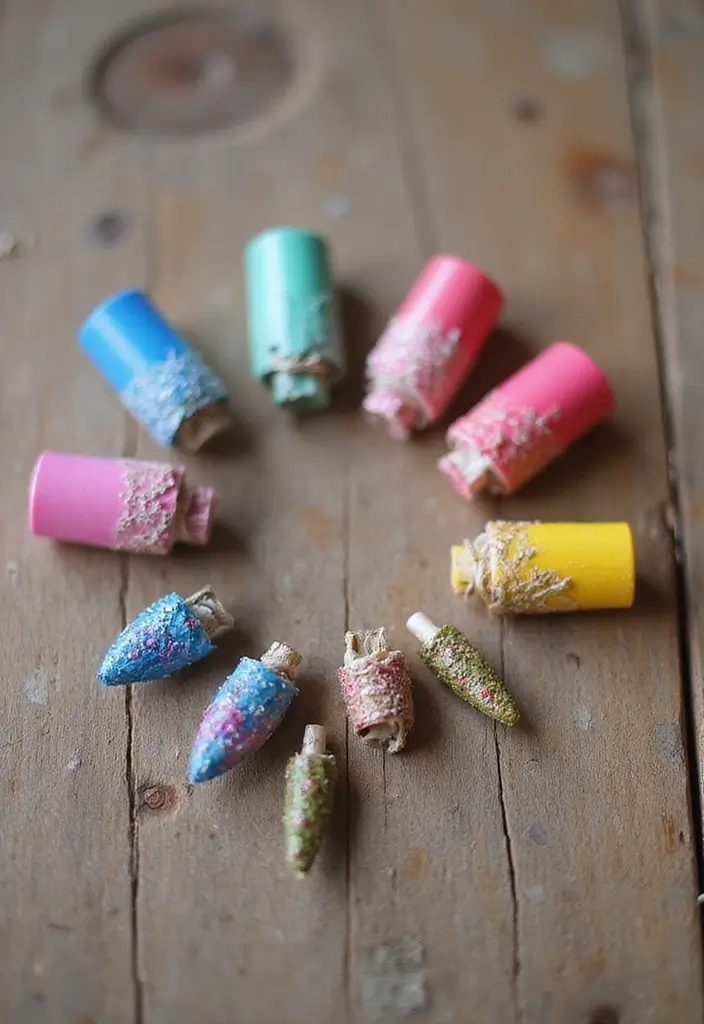
3. Eco-Friendly Nail Extensions: The Basics
When it comes to eco-friendly nail extensions, you can easily create beautiful designs using natural materials. Options include using paper, silk, or even cotton fabric to extend your nails. Start with thin strips of these materials, cut to your desired length.
These natural materials are not only biodegradable but also allow for creative expression, such as nail art and unique styles. To attach these extensions, consider using a non-toxic glue or a peel-off base coat that won’t hurt your nails.
Experiment with different colors and patterns to suit your mood, and enjoy the freedom of creating your designs!
– Test a small area first to ensure you don’t have any allergic reactions.
– Use fabric scraps from old clothes to keep your DIY sustainable.
– Mix and match different materials for a fun, eclectic look.
4. DIY Press-On Nails from Recycled Materials
If you’re looking for a quick and effective way to accentuate your nails, consider creating press-on nails from recycled materials. Gather any old plastic cards or cardboard pieces you have lying around.
Cut them into your desired nail shape and size, then decorate with nail polish or eco-friendly paints. Once dry, apply a layer of clear top coat to seal your designs. These press-ons are easy to use and can last for days, giving you the freedom to change your nails as often as you like!
– Apply a small amount of glue for a stronger hold, or use peel-off nail glue for easy removal.
– Ensure your nails are clean and prepped for the best adhesion.
– Always keep your press-ons stored safely to reuse for your next nail adventure!
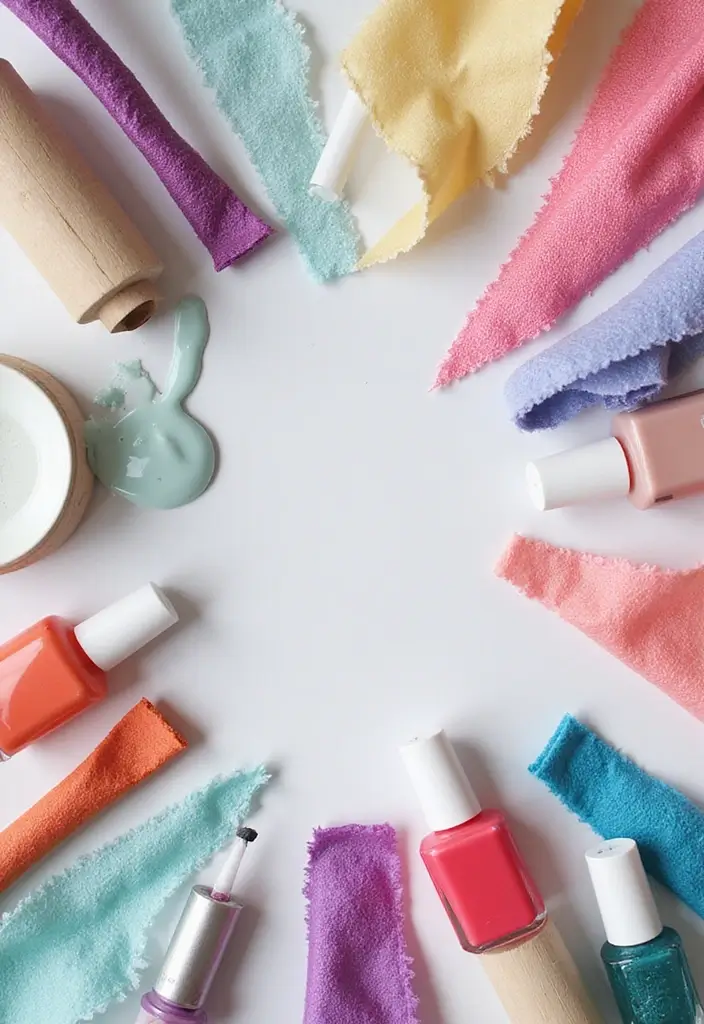
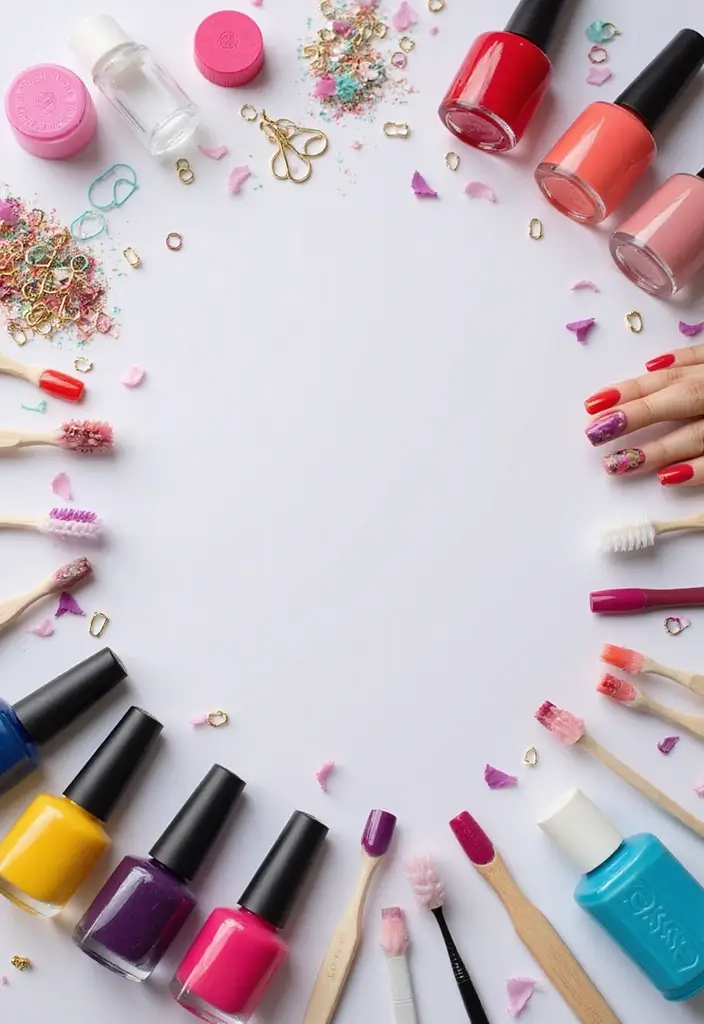
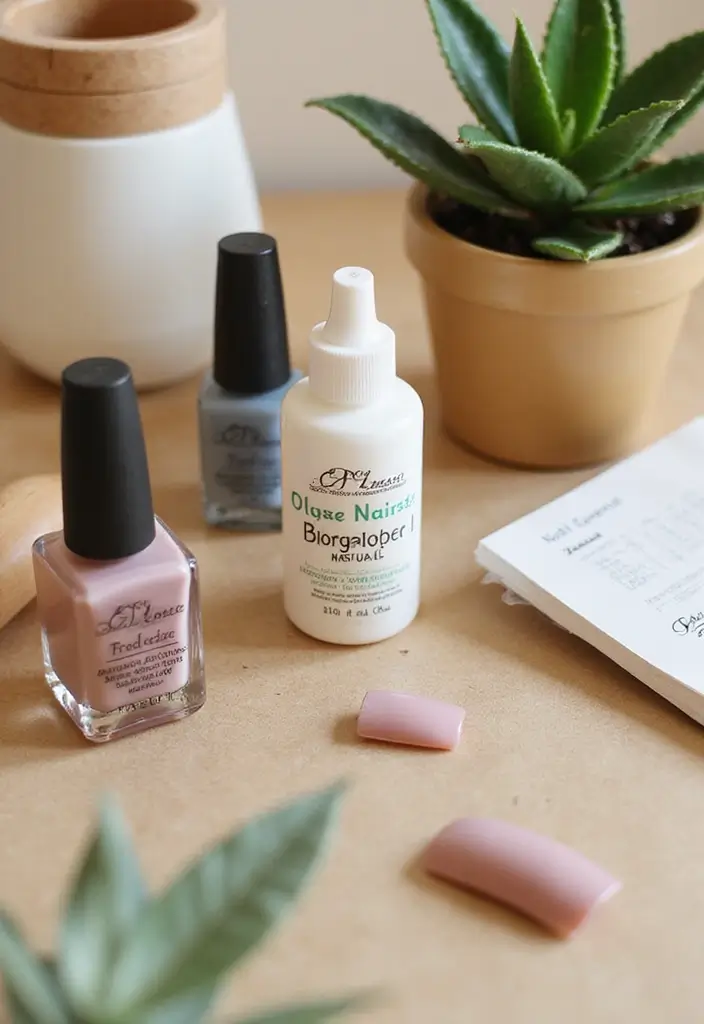
5. Natural Nail Polishes Worth Trying
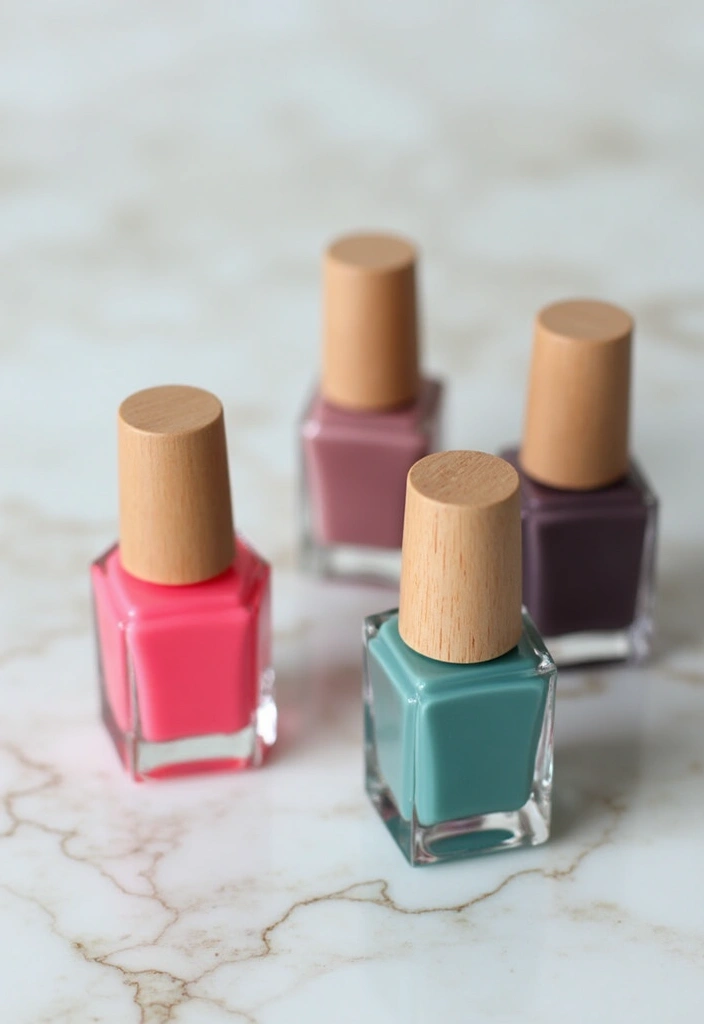
When it comes to nail colors, opting for natural, non-toxic nail polishes can transform your manicure experience. Many brands now offer beautiful shades that are free of harmful chemicals, such as formaldehyde and phthalates.
You can find stunning colors that are environmentally friendly and better for your nails. Look for brands that prioritize sustainability and support ethical practices.
Not only will your nails look fabulous, but you’ll also feel good about your choices! Experiment with various shades to find the perfect match for your mood or outfit.
– Check online reviews before purchasing to find the best brands.
– Mix colors to create your unique shades!
– Consider matte, glossy, or even glittery finishes to diversify your look.
6. The Art of Nail Stamping: Simple and Fun
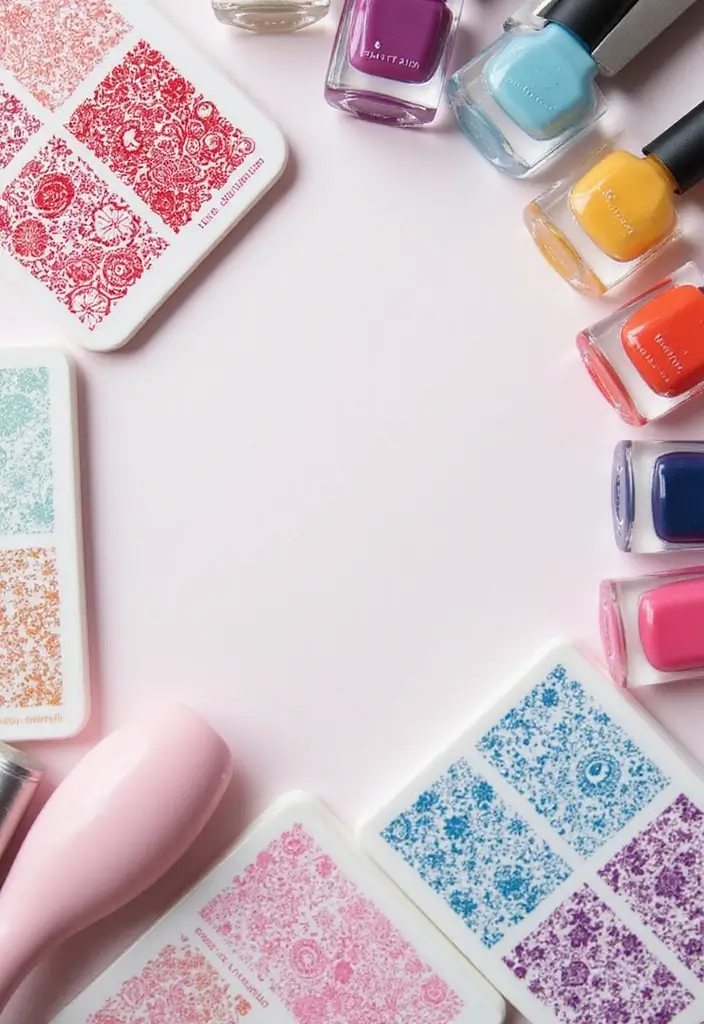
Nail stamping is an exciting way to take your DIY nail extensions to the next level. Using a stamping kit, which can often be made from eco-friendly materials, allows you to transfer intricate designs onto your nails effortlessly.
Choose from a variety of patterns, from floral to geometric, and get creative! You can even create your designs using non-toxic paints on small stamp plates.
This fun technique not only enhances the look of your nails but also gives you a professional finish.
– Start with a clear base coat to ensure your designs pop.
– Practice on a piece of paper before stamping directly on your nails to perfect your technique.
– Clean your plates regularly to avoid smudging designs.
7. Building Length with Nail Forms
Nail forms are a fantastic way to create longer nail extensions without needing a complete kit. These forms are applied under your natural nail and can be made from recycled materials or sturdy paper.
To use them, place the form under your nail, apply a layer of base coat or glue, and mold the material to your desired length. This method is not only fun but also allows you to customize your nails to fit your unique style.
Don’t forget to file the edges once your extensions are in place to ensure a smooth finish.
– Use eco-friendly glue for bonding to minimize chemicals.
– Trim the forms to avoid excess material poking out.
– Experiment with different lengths for a fresh look every time.
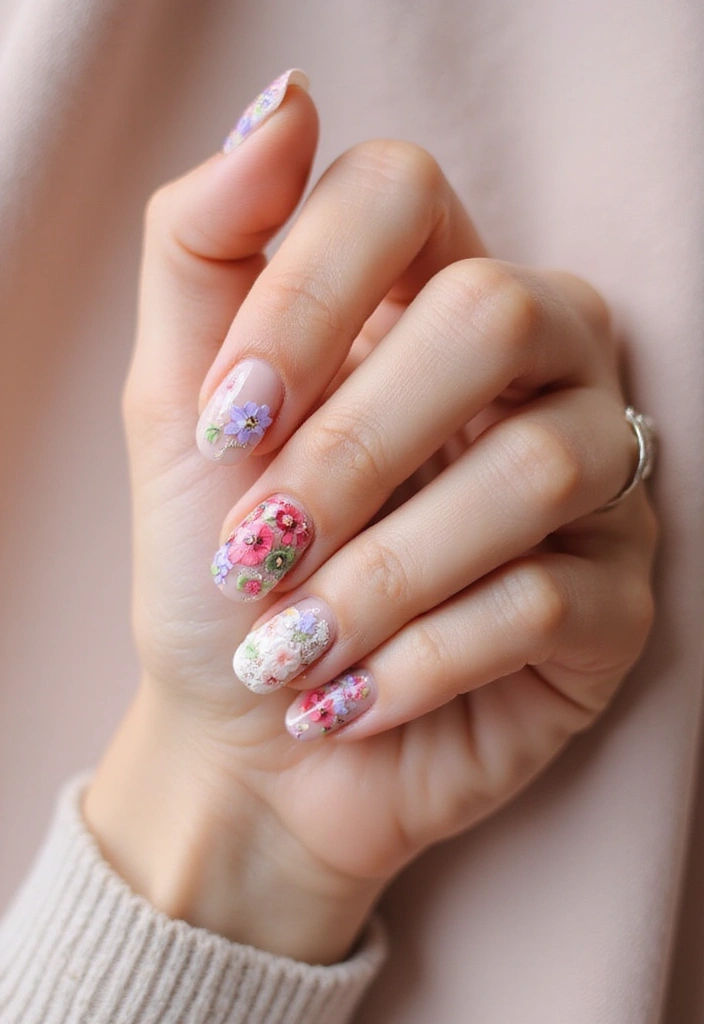
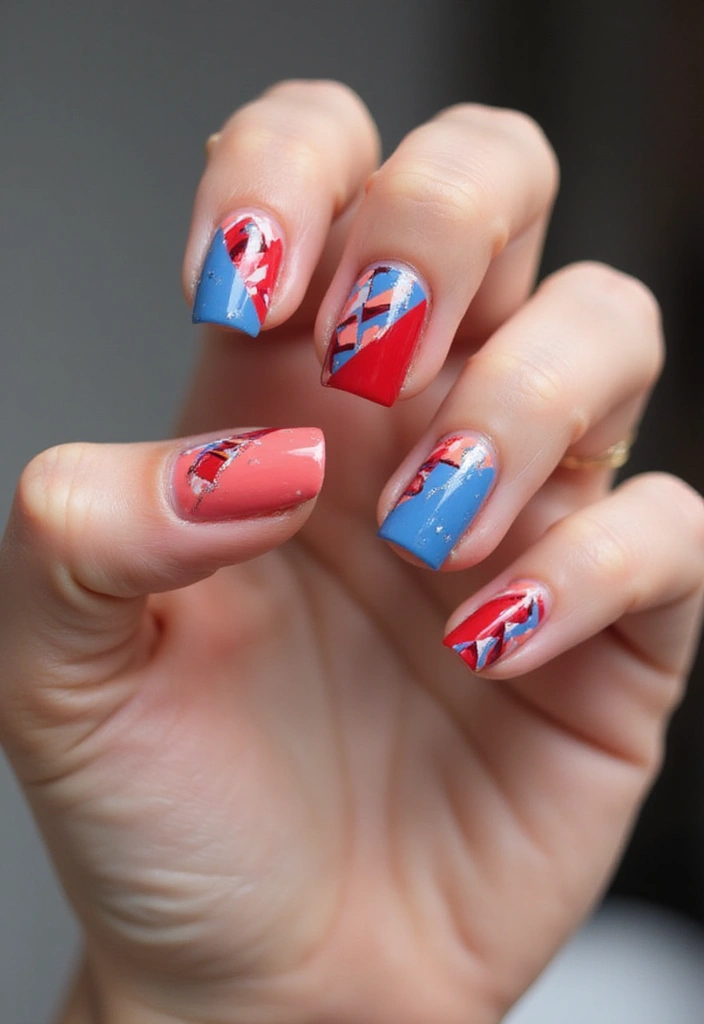
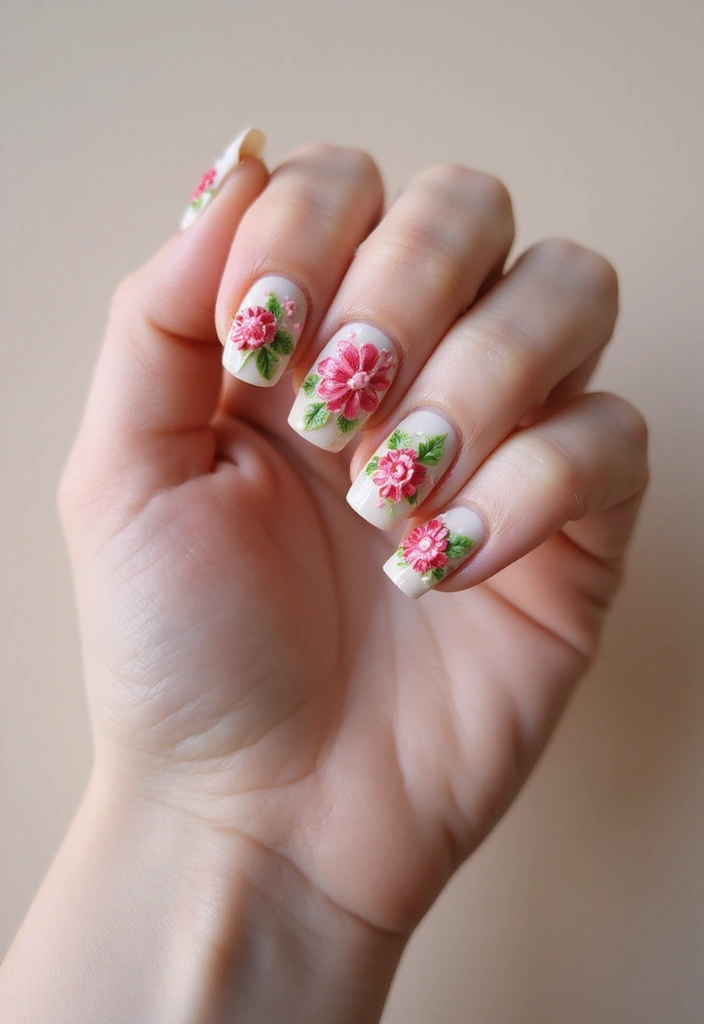
8. Nail Art Techniques for Beginners
Nail art is where creativity meets style, and as a beginner, you can easily start with a few simple techniques. Dotting is a great way to create beautiful patterns without needing fancy tools. Use a toothpick or a dotting tool to make fun designs on your nails!
Striping tape can also be a game-changer; it’s an easy way to create straight lines and geometric patterns. Just stick the tape onto your nail, apply your polish, and peel it away for a stunning design.
Lastly, try using a sponge for gradient effects, blending two or more shades for a gorgeous ombre look.
– Start with base colors to keep it clean and simple.
– Experiment with different colors and patterns to find your favorites.
– Don’t be afraid to mix techniques for a unique finish.
9. Using Household Items for Nail Art
Did you know you can use everyday household items for stunning nail art? Items like paper clips, old toothbrushes, or even plastic wrap can help create unique textures and patterns. For instance, dip the end of a paper clip into polish to make tiny dots or use an old toothbrush to splatter paint for an abstract design.
Plastic wrap can create a marbled effect by dabbing it onto wet polish. The possibilities are endless with a bit of creativity and experimentation!
– Use non-toxic paints to keep it all eco-friendly.
– Try combining several techniques for something genuinely original.
– Always use a topcoat to seal your designs.
10. Nail Care Between Extensions
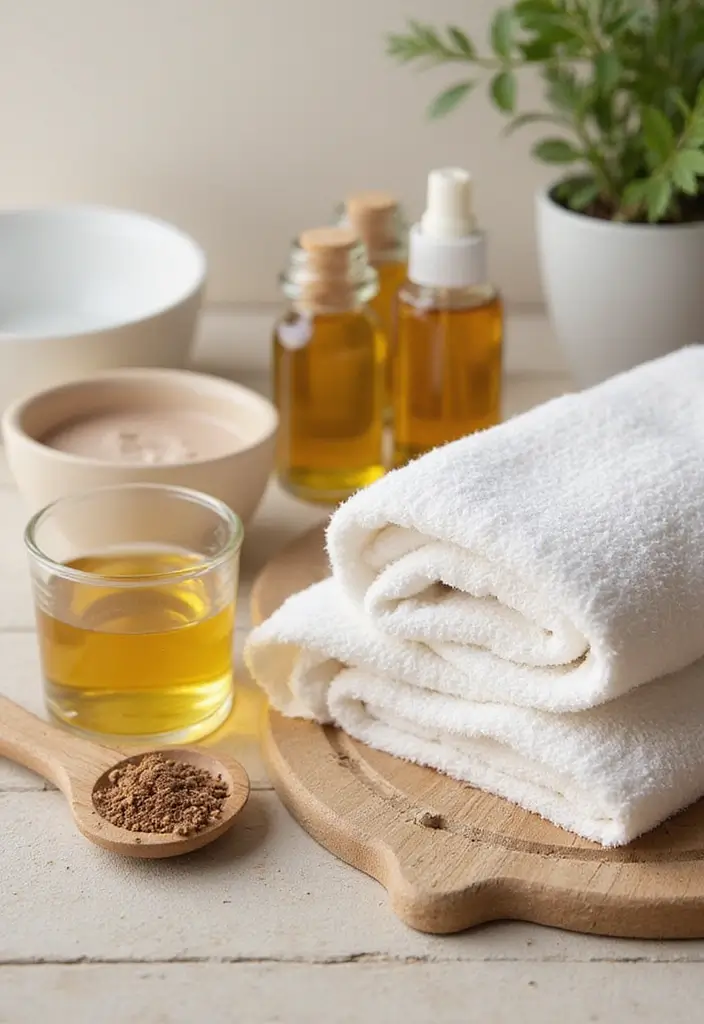
Taking care of your nails is essential, especially between extension applications. Keep your nails clean and moisturized by using natural oils, such as argan or jojoba oil. These oils help to nourish your nails and cuticles, keeping them healthy and strong.
Consider giving your nails a break from extensions every few weeks to allow them to rest and recover. This is particularly important if you’re using glue or other adhesives that can weaken your natural nails over time.
Make hydration a daily routine; drinking enough water and applying lotion will give your nails the care they deserve.
– Regularly check for any signs of damage or irritation.
– Avoid overuse of nail polish remover; opt for gentle, natural alternatives.
– Maintain a balanced diet rich in vitamins to support nail health.
11. Nail Foils: The New Trend
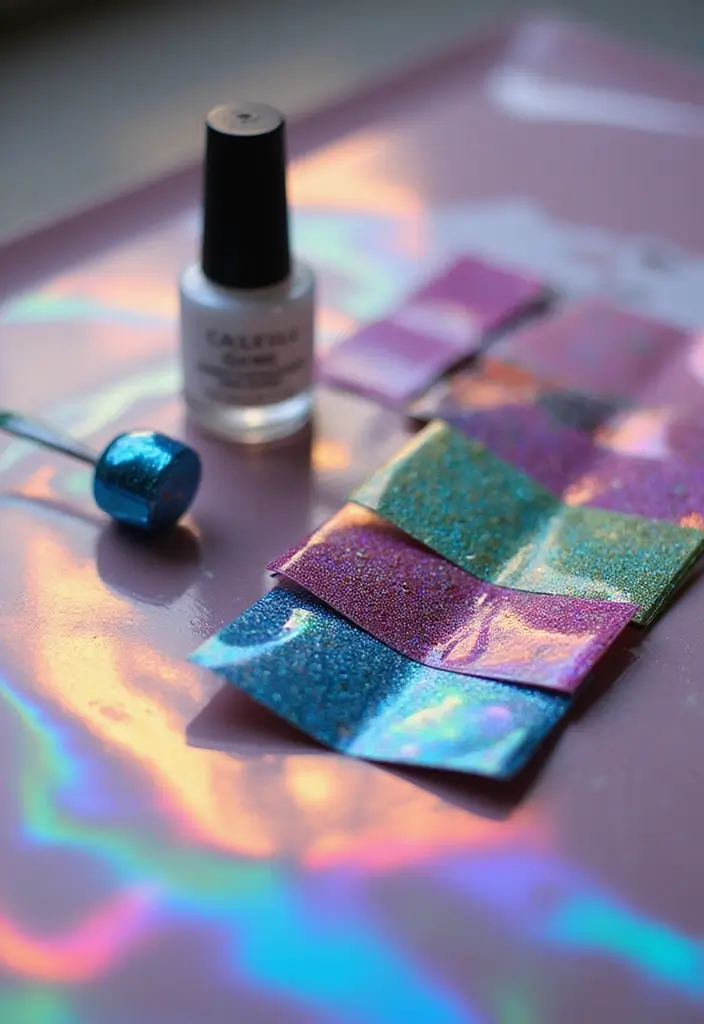
Nail foils are an exciting addition to the world of DIY nail art! These thin sheets can add stunning metallic or holographic designs to your nails without much effort. To use them, apply a layer of adhesive glue or specific nail foil glue on your nails, let it dry slightly until tacky, then press the foil onto your nail and peel it back for a beautiful finish.
The uniqueness of nail foils comes from their ability to create one-of-a-kind designs. You could layer different colors or even mix different foils for a custom look.
– Ensure your base color is completely dry before applying the foil.
– Use a topcoat to seal and protect your design.
– Experiment with applying foils to half your nails for a chic look.
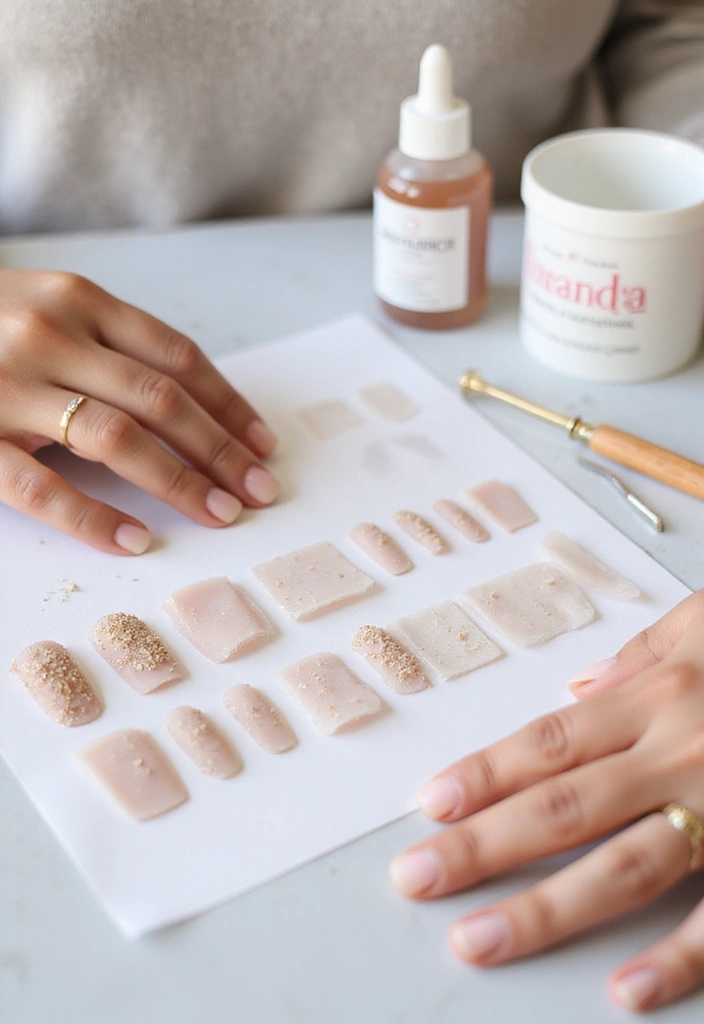
12. Creating Natural Nail Sculptures
If you want to take nail art to the next level, try your hand at natural nail sculptures! Using biodegradable materials such as clay or even sugar paste, you can sculpt tiny flowers, leaves, or other designs right on your nails.
Start with a base coat, then mold your material into shapes while they’re still soft, and adhere them with nail glue. Once set, finish with a topcoat to keep everything intact. This technique allows your creativity to flourish, enabling you to showcase unique designs that are genuinely one-of-a-kind.
– Keep the sculptures small to avoid weighing down your nails.
– Experiment with colors for striking contrasts.
– Remember to allow enough drying time for longevity.
13. The Minimalist Approach: Barely There Extensions
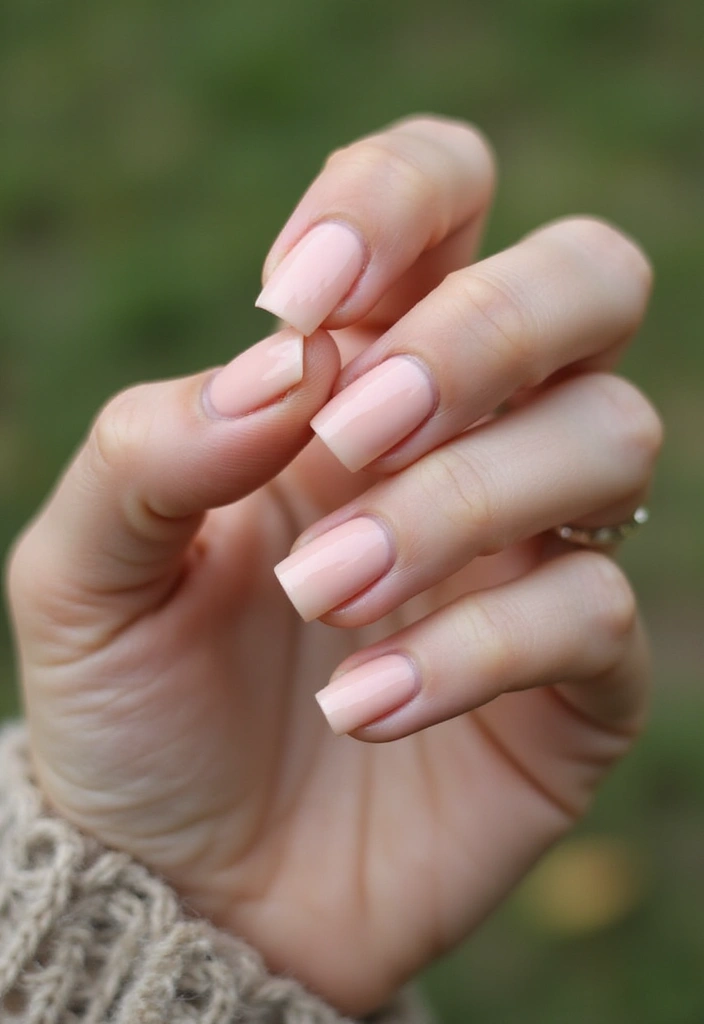
For those who prefer a minimalist look, barely-there extensions are perfect. Using clear or nude shades can provide an understated elegance that works for every occasion. Simple extensions can be made by gently applying a transparent layer of resin or gel to your natural nails. This not only adds a bit of length but also enhances shine without overwhelming the natural beauty of your nails.
This subtle aesthetic is all about highlighting what you already have while adding just a touch more flair.
– Choose products that are free from harsh chemicals for the best results.
– A light buffing can enhance the shine of your natural nails even further.
– Finish with a nourishing topcoat for a polished effect.
14. How to Remove Extensions Safely

Removing nail extensions can sometimes be a daunting task, but it doesn’t have to be. The key is to do it gently and safely. Start by soaking your nails in warm, soapy water for about 10-15 minutes. This will help loosen the adhesive used.
If using glue, a non-acetone remover is preferable, as it’s less harsh on your nails. Use a wooden stick or cuticle pusher to lift the extensions from your natural nail gently. Always remember to moisturize afterwards to restore hydration.
– Never force the extensions off, as this can damage your natural nails.
– Be patient; taking your time will avoid hurting your nails.
– Always keep nails moisturized before and after the removal process.
15. The Benefits of Eco-Friendly Choices in Nail Care
Embracing eco-friendly choices in nail care isn’t just a trend; it’s a commitment to better health and sustainability. Natural ingredients in polishes and removers mean fewer harsh chemicals that can damage your nails or harm the environment. By choosing biodegradable products, you help reduce waste in landfills.
This sustainable approach encourages local businesses that prioritize ethical practices. Supporting such brands not only benefits the environment but also promotes a healthier lifestyle. Plus, you’ll often find that natural products can be gentler on your skin and nails.
– Choose brands that are transparent about their ingredients.
– Look for seals of approval from eco-friendly organizations.
– Spread the word to friends and family about sustainable nail care!
16. Nail Buffing: The Secret to Shine
Nail buffing is a fantastic way to give your nails a natural shine without the need for polish or extensions. Using a natural nail buffer, gently buff the surface of your nails to smooth out any ridges and create a glossy finish. This method is excellent for those who prefer a low-maintenance approach yet still want their nails to look healthy.
The best part? You don’t need special tools. A simple buffer can work wonders. Just remember not to overdo it! Buff your nails once a week to maintain their shine and keep them healthy.
– Use a natural, non-toxic buffer to avoid damage.
– Moisturize your cuticles after buffing for added care.
– Shine without polish means your nails can breathe fully.
17. Crafting Your Nail Stickers
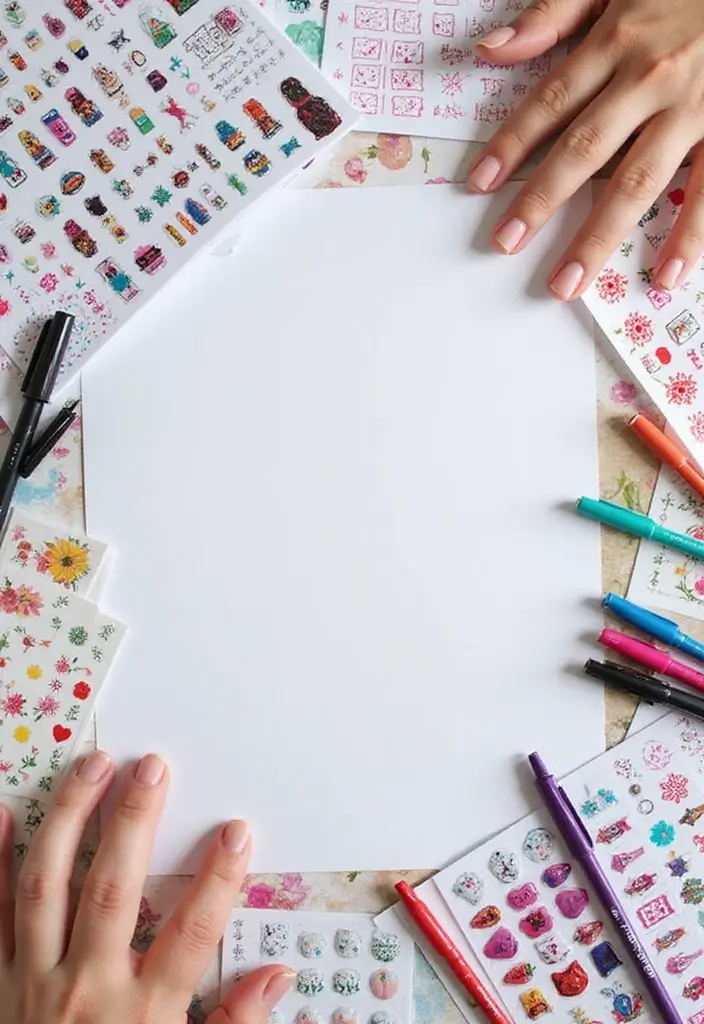
Creating your nail stickers is a fun way to personalize your nail art! You can use biodegradable sticker sheets and designs printed from your favorite motifs. Cut them into the shapes you like, then apply them on your nails with a topcoat to seal. This technique enables endless creativity, allowing you to tailor your designs to match any occasion.
Experiment with different colors and patterns to keep things fresh and interesting. Additionally, homemade stickers can often be more unique than store-bought options, allowing you to showcase your personality.
– Print designs in grayscale to make them easier to color later.
– Store your stickers in a dry place to maintain their quality.
– Use non-toxic adhesives for the best results.
18. Using Fruits for Unique Nail Designs
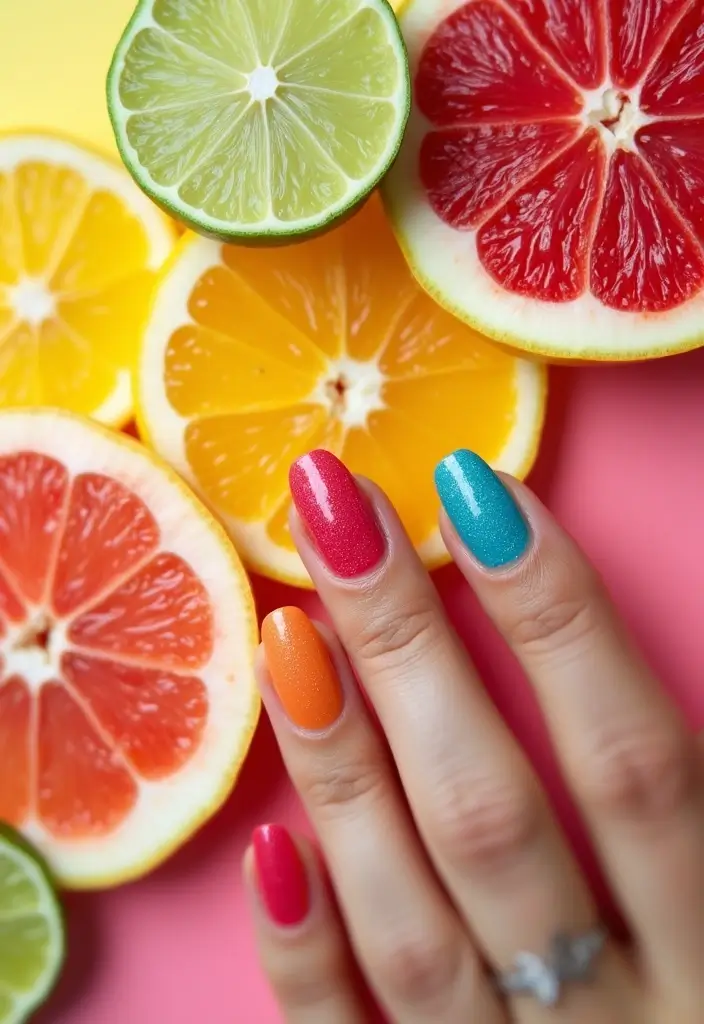
Fruits aren’t just for eating; they can also inspire fun and vibrant nail designs! Try using fruit slices or even peels to stamp patterns onto your nails. Citrus fruits work particularly well for bright, summery looks.
Cut a small piece of fruit, dip it in polish, and press it onto your nails for a fresh and eye-catching design. This process is ideal for warm days or beach outings when you want to showcase your playful side.
– Ensure the fruit is clean to avoid any residue.
– Use fresh fruit for the best results; dried pieces won’t hold up.
– Seal the design with a top coat to enhance longevity.
19. The Power of Negative Space in Nail Art
Negative space is an innovative nail art technique that focuses on leaving parts of your natural nail visible. This trend is all about balance, where negative spaces create stunning designs that are both simple and elegant. Use tape to section off parts of your nail and apply polish only to the areas you want colored.
This technique allows you to showcase your natural nails while still incorporating art. Combining this with various colors can create a chic and modern look that’s perfect for any occasion.
– Avoid using too many colors to keep the design clean and sophisticated.
– Use a base coat to keep your nails protected during the painting process.
– Experiment with different shapes for varied styles.
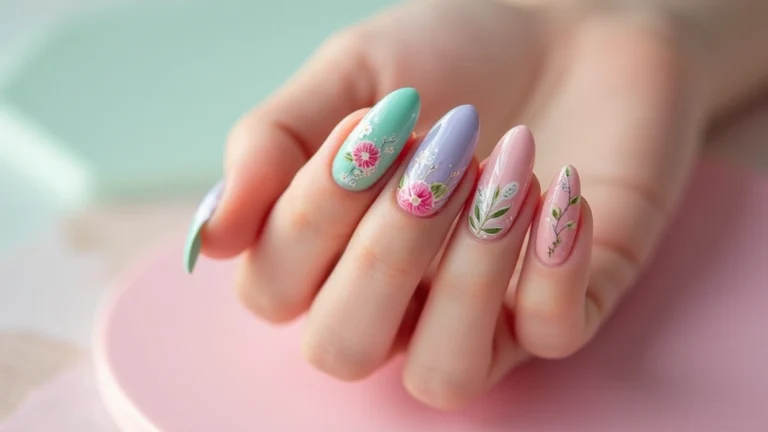
20. Exploring Seasonal Nail Trends
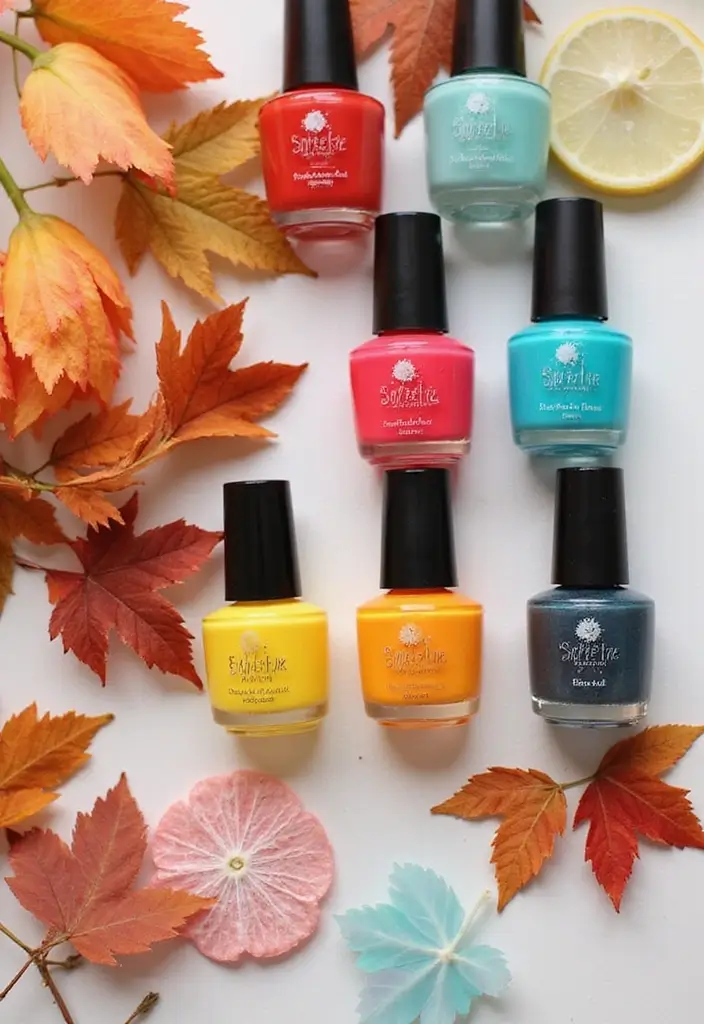
Every season brings new trends in nail art, and staying up-to-date can be a fun way to express your style! From pastel shades in spring to deep, warm tones in the fall, the seasons inspire a range of colors and designs. Utilize eco-friendly materials to reflect seasonal themes, like leaves for fall or flowers for spring.
Keep an eye out for trending designs on social media and Pinterest. This constant inspiration can help you discover new ideas to try at home.
– Create a seasonal color palette to guide your choices.
– Don’t shy away from trying mix-and-match seasonal themes for a unique twist.
– Share your seasonal nail creations with friends for added inspiration!
Nail art is like the seasons—ever-changing and full of inspiration! Embrace eco-friendly materials to reflect nature’s beauty, and let your nails tell a story that evolves with the year.
21. Nail Extension Myths Debunked
There are many myths surrounding nail extensions that often discourage beginners from trying them. One common myth is that extensions always damage your natural nails, but when done correctly and with the right materials, they can be safe and healthy.
Another myth is that you need expensive kits to achieve great results. With eco-friendly materials, you can create amazing extensions at home without breaking the bank. It’s essential to conduct thorough research and understand the best practices for maintaining nail health.
– Always prioritize your nail health over aesthetics.
– Use natural products whenever possible to minimize damage.
– Seek advice from professionals if you’re unsure about any technique.
Don’t let myths hold you back! Nail extensions can be safe and stunning, all while being eco-friendly. You don’t need an expensive kit—just creativity and the right techniques to shine!
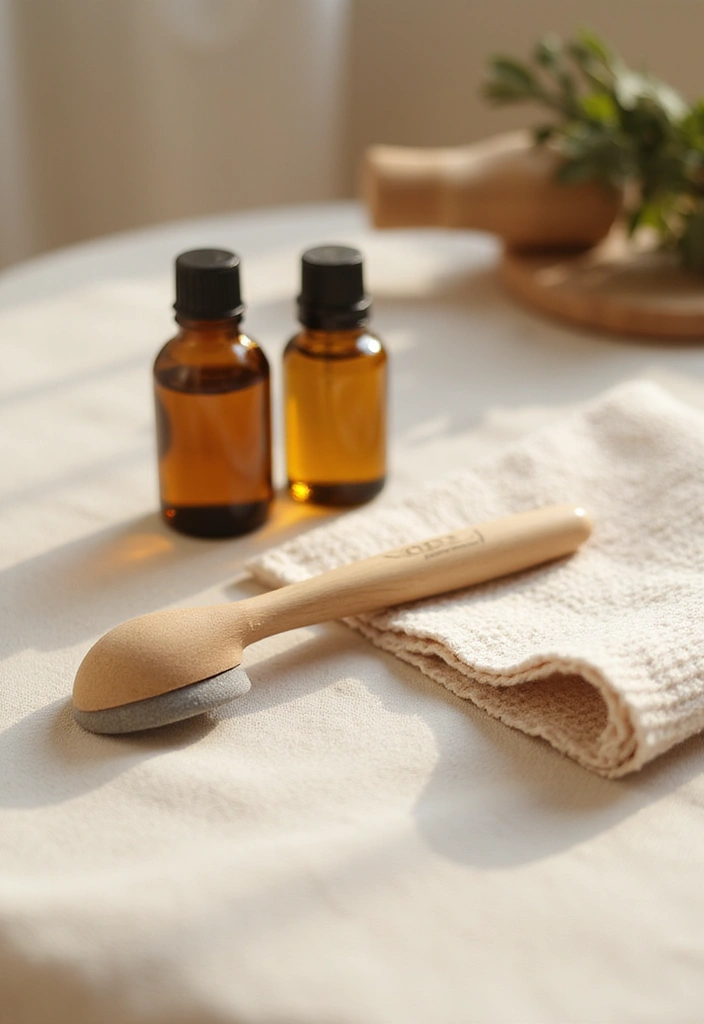
22. The Role of Hydration in Nail Health
Hydration plays a crucial role in maintaining healthy nails, particularly if you frequently wear extensions. Drinking plenty of water helps keep your nails strong and prevents cracking. Additionally, moisturizing your nails with natural oils can significantly improve their condition.
Incorporate cuticle oils into your daily routine to maintain hydration and promote healthy nail growth. Consider using a small brush to apply the oil for a more uniform application and to reach all areas of the skin.
– Try to avoid excessive hand washing, which can dry out nails.
– Use gloves when doing dishes or using cleaning products.
– Keep a small bottle of oil in your bag for on-the-go hydration.
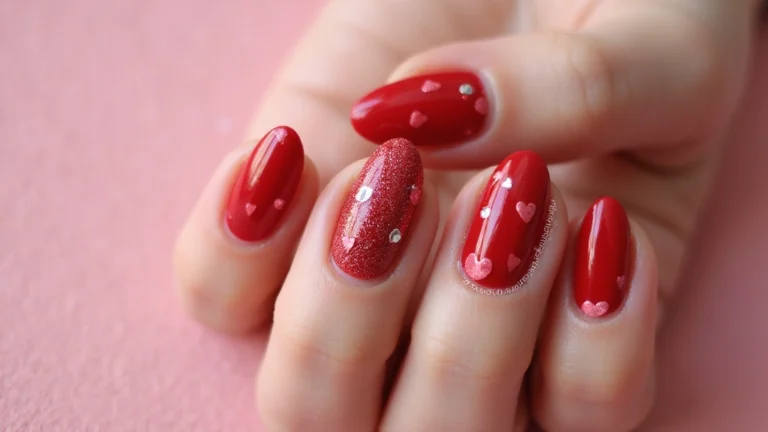
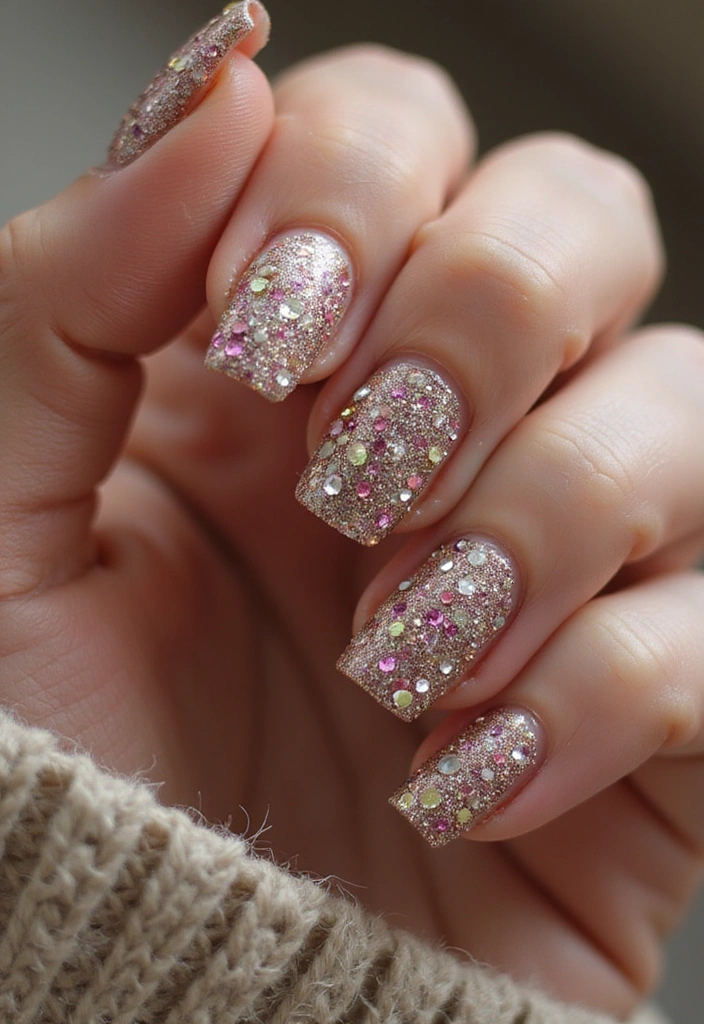
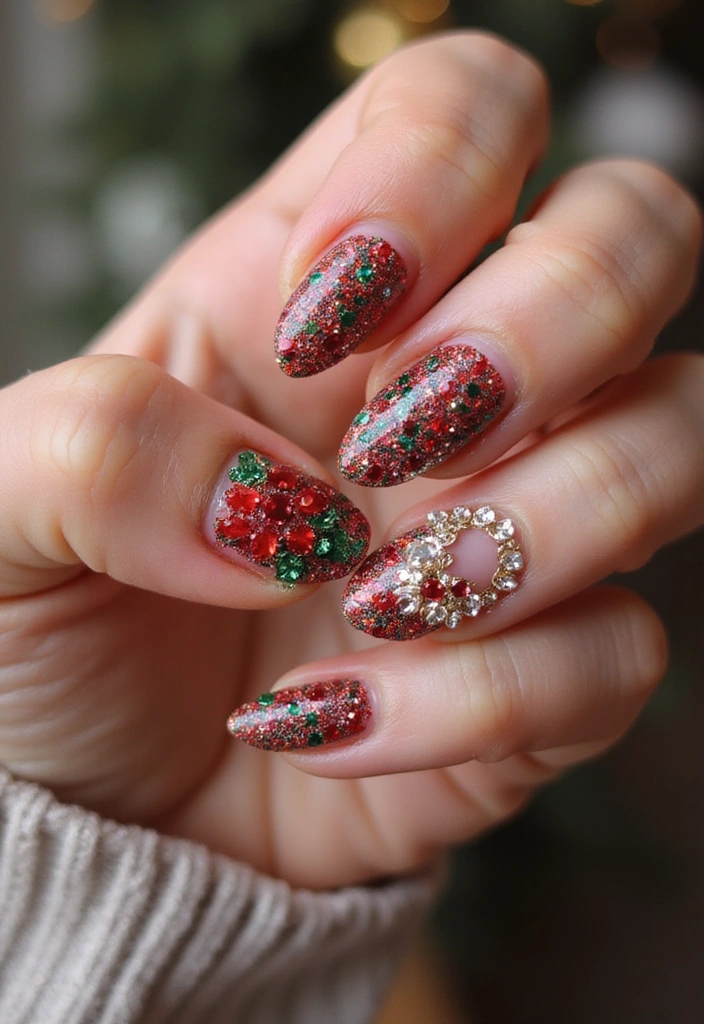
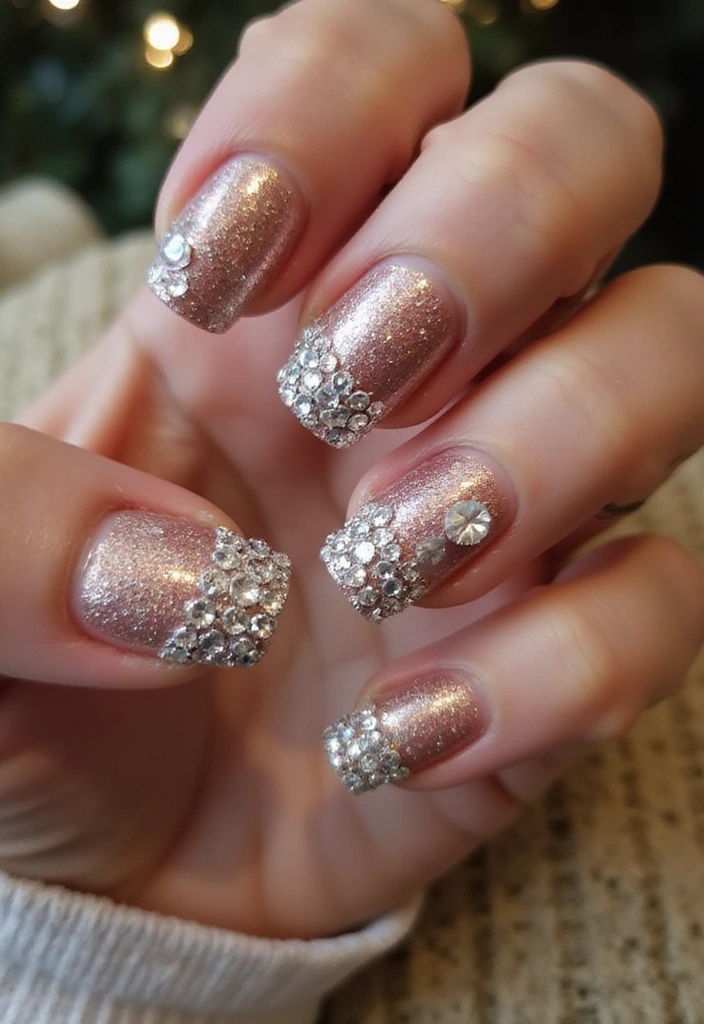
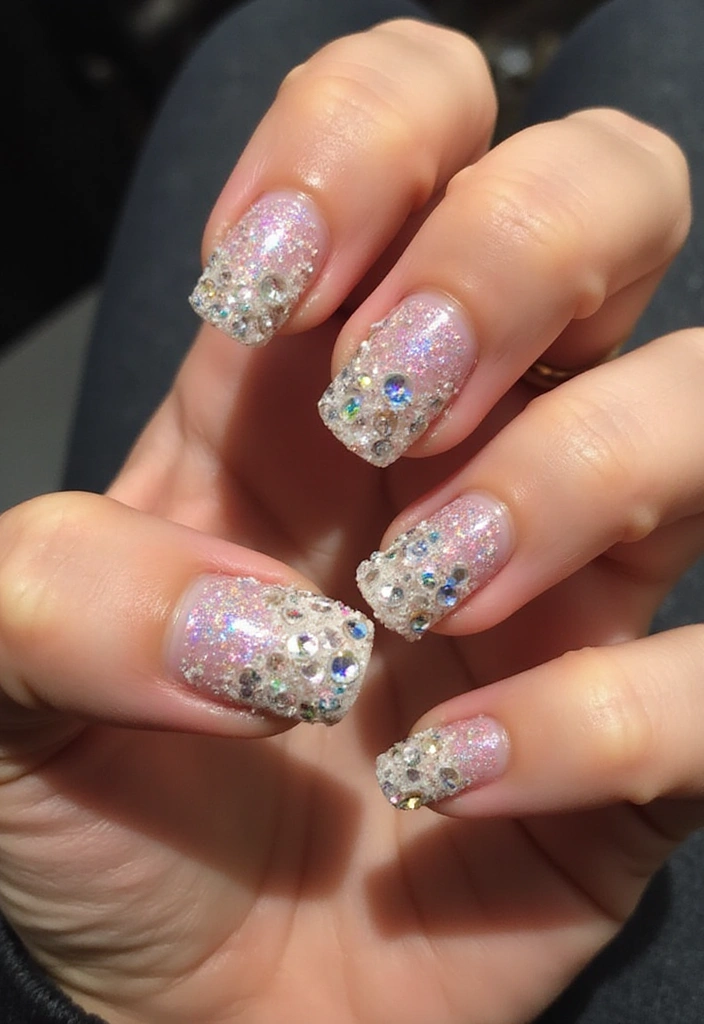
23. Nail Art for Special Occasions
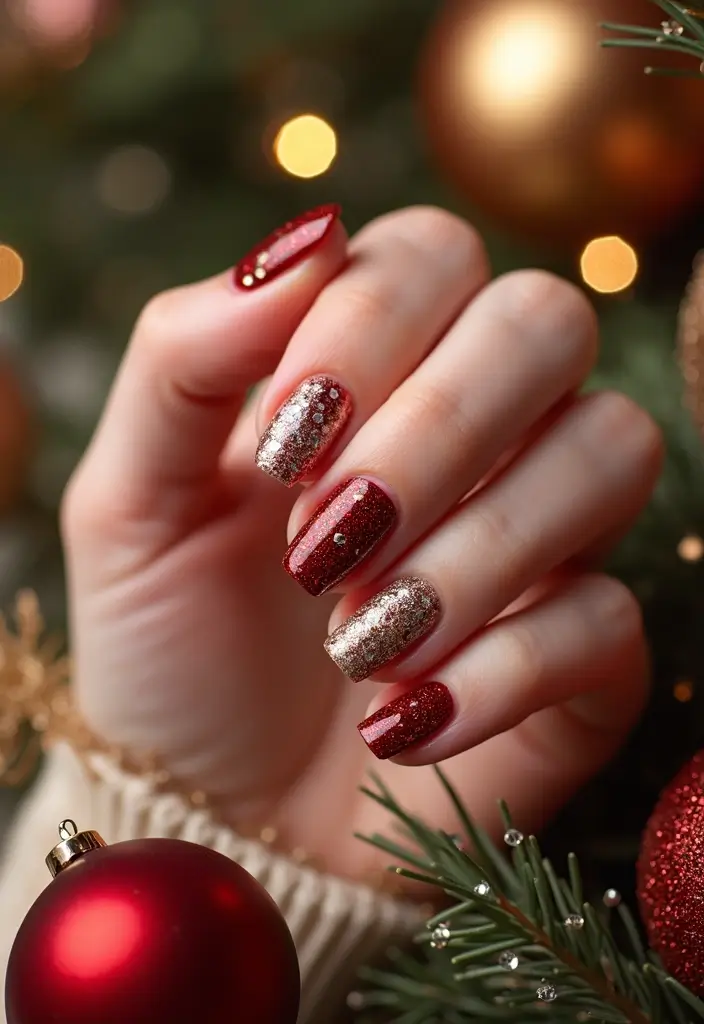
Special occasions call for something extra when it comes to nail art! Whether it’s a wedding, birthday, or holiday gathering, consider going for more intricate designs. Incorporate elements like rhinestones, glitter, or even tiny charms that reflect the celebration.
You can create a festive look with seasonal colors and patterns, or opt for elegant styles with minimalist designs and a touch of sparkle. Nail art isn’t just for regular days; it’s a chance to express your excitement and joy!
– Keep the elegance in mind for formal events.
– For fun parties, don’t hesitate to go bold with colors.
– Always seal your designs with a topcoat for longevity.
24. Exploring Nail Shapes for Your Personality
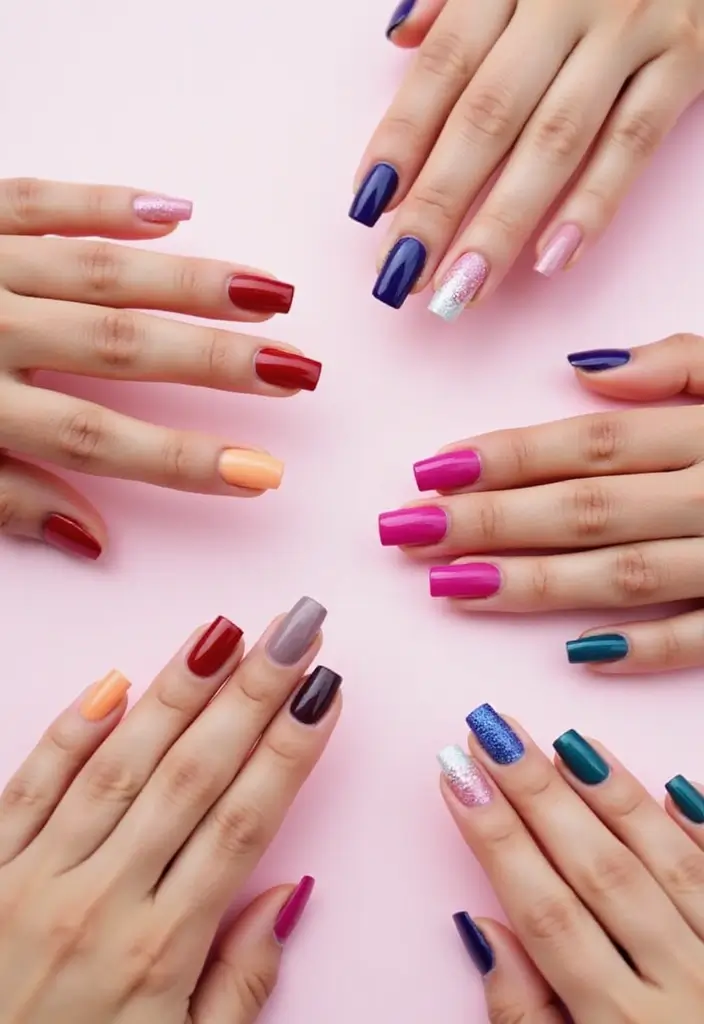
Different nail shapes can complement various personalities and styles. From classic square to daring stiletto, each shape tells a story. For a more sophisticated look, oval or almond shapes are perfect, whereas square or coffin shapes can offer an edgy vibe.
Consider your lifestyle when choosing a nail shape; shorter nails may be more practical for those with active lifestyles. Additionally, consider how different shapes can complement various nail art styles. Experimenting with shapes can be a fun way to express your individuality.
– Try out different shapes on fake nails before settling on one.
– Pay attention to how each shape feels and functions in your daily life.
– Mix and match shapes for a unique touch to your extensions.
25. The Benefits of Regular Manicure Maintenance
Regular manicures are essential for maintaining healthy and beautiful nails, especially when working with extensions. Even simple at-home manicures can help keep your nails clean and promote good nail health. Incorporating nail scrubs or gentle exfoliants can remove dead skin and encourage growth.
Additionally, consistent maintenance helps you identify any potential issues before they become problematic. This routine doesn’t have to be elaborate; even a simple weekly ritual can yield fantastic results.
– Create a schedule that works for you for regular maintenance.
– Use natural scrubs made from sugar or salt for exfoliation.
– Always clean your tools after each use to maintain hygiene.
A weekly manicure isn’t just a treat; it’s a vital step in nurturing healthy nails. Regular maintenance helps you spot issues early, keeping your nail extensions looking fabulous!
26. The Importance of Using a Base and Top Coat
Using a base and top coat is vital in any nail care routine, especially for extensions. The base coat acts as a protective barrier, preventing staining and strengthening your nails. It also helps polish adhere better, giving a more durable finish.
On the other hand, a top coat seals in your designs, adding a shiny finish while also enhancing longevity. Consider using eco-friendly options that are free from harmful chemicals for maximum benefits.
– Look for base and top coats that promise quick-drying for convenience.
– Always allow each coat to dry completely before applying the next.
– Reapply the top coat every few days to maintain shine.
27. Finding Your Perfect Nail Length
Finding the right nail length can significantly impact your overall look. While some prefer long, dramatic nails, others might gravitate towards a more practical length. Consider your lifestyle and daily activities when choosing the length; shorter nails may be best for those who are constantly on the go.
Experimenting with different lengths can also help you discover what feels comfortable and looks great. Once you find your sweet spot, you can adjust the designs accordingly.
– Use clipper tools to shape and shorten your nails easily.
– Remember to file down sharp edges to avoid discomfort.
– Keep nails hydrated regardless of the chosen length.
28. Keeping Up with Nail Trends Online
Staying updated with the latest nail trends can provide endless inspiration for your DIY projects. Follow beauty blogs, browse Pinterest boards, and explore social media platforms where nail artistry is thriving. Engaging with these communities can encourage creativity and help you learn new techniques.
You can also join online workshops or tutorial channels to improve your skills and knowledge. The more you explore, the more ideas you’ll gather for your next nail extension project!
– Create a dedicated board for nail inspiration on Pinterest.
– Share your creations to connect with like-minded individuals.
– Always be open to experimenting with new trends.
Conclusion
Embarking on your nail extension journey can be an exciting way to explore your creativity and enhance your look.
With the eco-friendly techniques outlined in this guide, you can enjoy beautiful nails that not only reflect your unique style but also support sustainable practices.
So gather your materials and get started on your next DIY nail adventure—you might surprise yourself!
Frequently Asked Questions
What Are the Best Nail Shapes for Beginners Trying DIY Extensions?
Choosing the right nail shape can make your DIY nail extensions look stunning! For beginners, square and oval shapes are often the easiest to manage. They offer a classic look and are more forgiving of mistakes. As you gain confidence, you can experiment with almond or stiletto shapes for a more daring style. Remember, practice makes perfect!
How Can I Prepare My Nails for Home Extensions?
Preparation is key to a successful at-home manicure! Start by removing any old polish and gently pushing back your cuticles with a soft tool. Then, buff your nails to create a smooth surface. This not only helps the extensions adhere better but also ensures a more polished look. Don’t forget to wash your hands thoroughly before starting your DIY nail extensions!
What Eco-Friendly Materials Can I Use for Nail Extensions?
Embracing eco-friendly practices in your nail extensions is easier than you might think! You can use materials like paper, silk, or cotton fabric for extensions. These materials are not only sustainable but also easy to work with. For a quick solution, try crafting press-on nails from recycled items like old plastic cards or cardboard. It’s a fun way to express creativity while being kind to the planet!
How to Remove Nail Extensions Safely at Home
Removing nail extensions doesn’t have to be a hassle! Start by soaking your nails in warm, soapy water for about 10-15 minutes. This softens the extensions for easier removal. Use a gentle tool to lift them off, taking care not to damage your natural nails. If you encounter any resistance, soak a bit longer. Always follow up with a nourishing oil to keep your nails hydrated!
What Are Some Simple Nail Art Techniques I Can Try as a Beginner?
Nail art can be super fun and creative! As a beginner, start with simple techniques, such as dotting or using household items for designs. A toothpick or a paper clip can create beautiful patterns. You can also try negative space designs, where parts of your natural nail are left visible for a chic, modern look. The possibilities are endless, so let your creativity shine!