36 Coquette Nail Art Ideas with Hearts, Bows, and Feminine Flair
Nail art is a playful and creative way to express your personality and style. With coquette aesthetics taking center stage, there’s no better time to explore nail designs that incorporate hearts, bows, and all things feminine. Whether you’re seeking subtle elegance or bold statements, these nail art ideas will inspire your next manicure.
From classic red hearts to intricate bow designs, there’s something for everyone. With easy DIY techniques and a touch of imagination, you can transform your nails into a canvas of beauty. Join us on this enchanting journey through 36 delightful coquette nail art ideas that will make your fingertips the talk of the town.
Get ready to unleash your inner artist and let your nails shine with charm and grace!
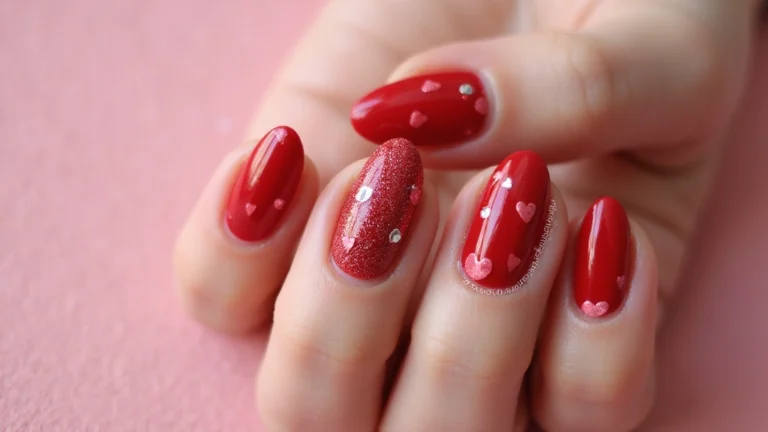
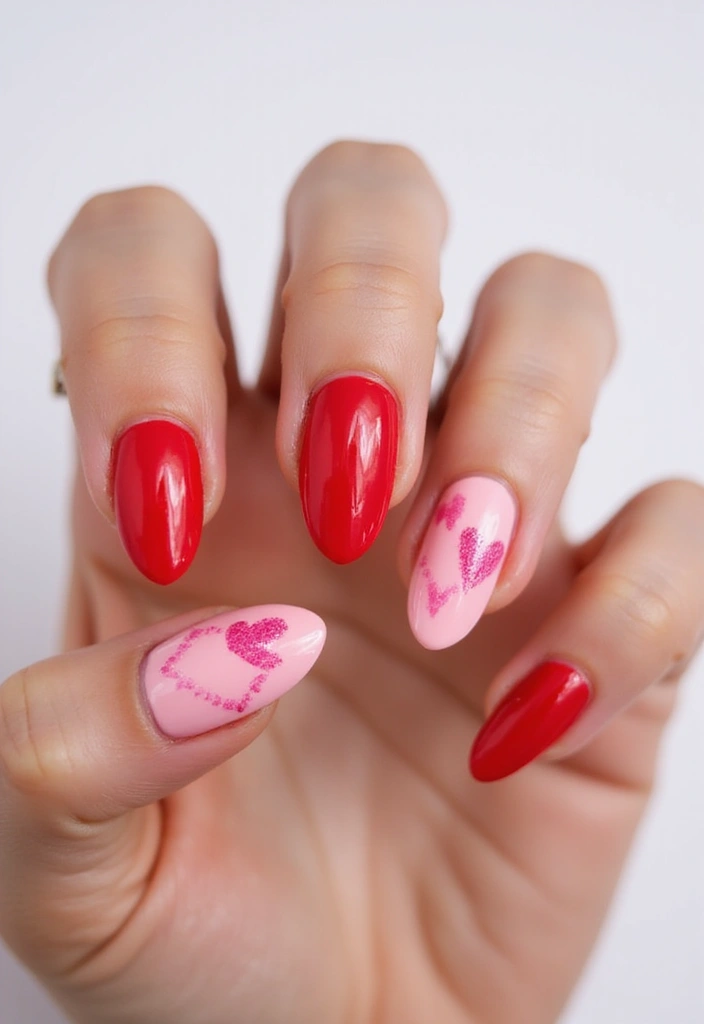
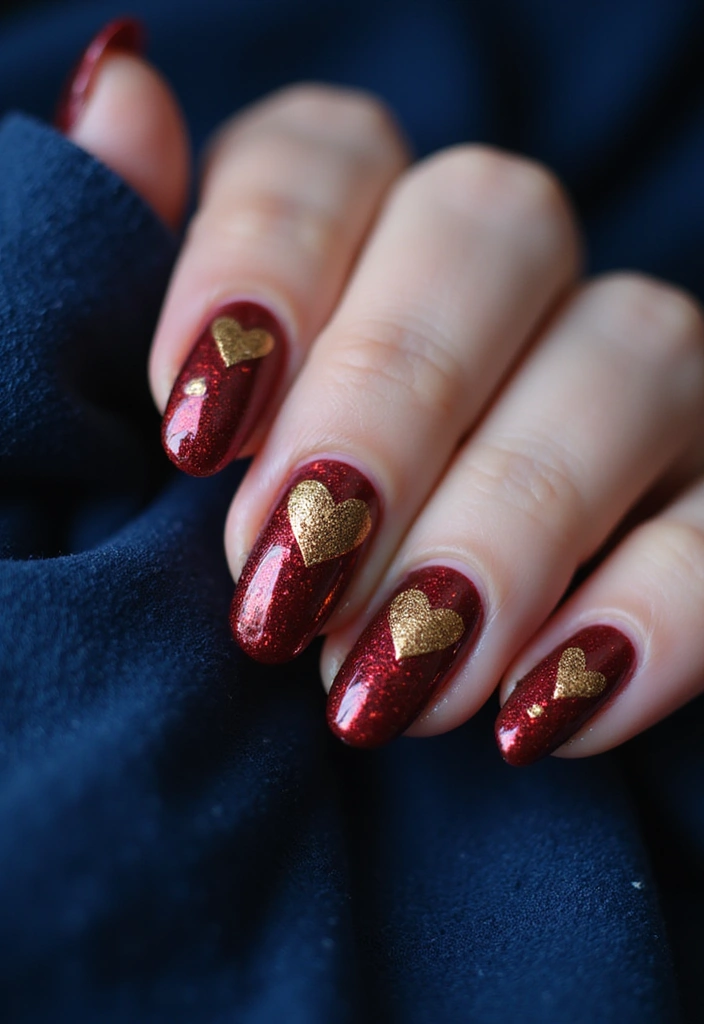
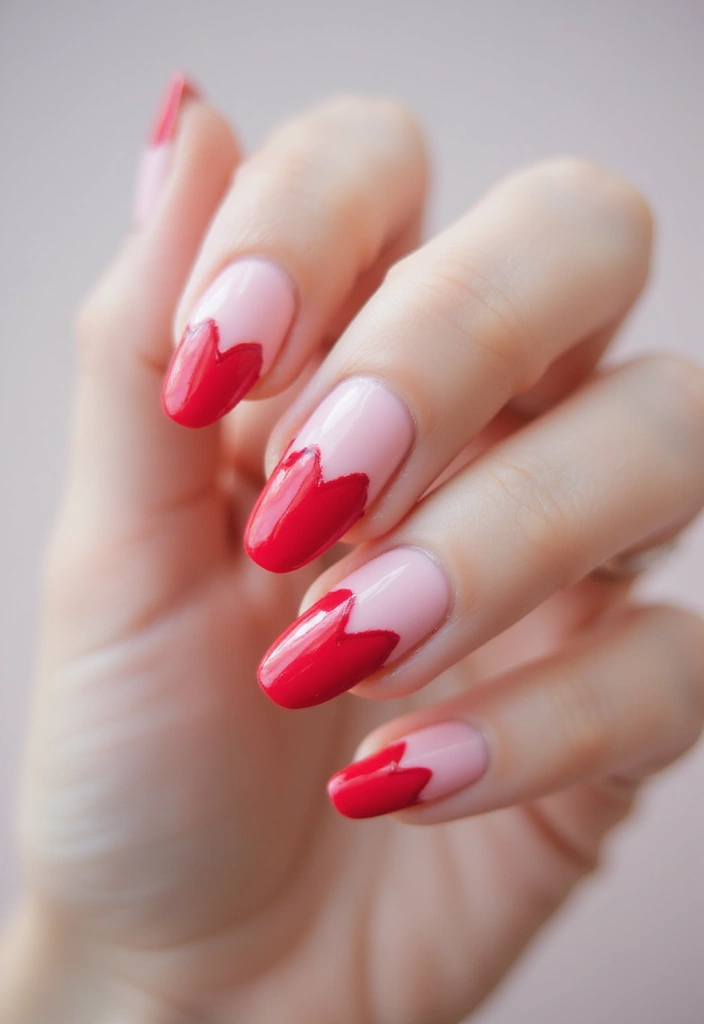
1. Classic Red Hearts
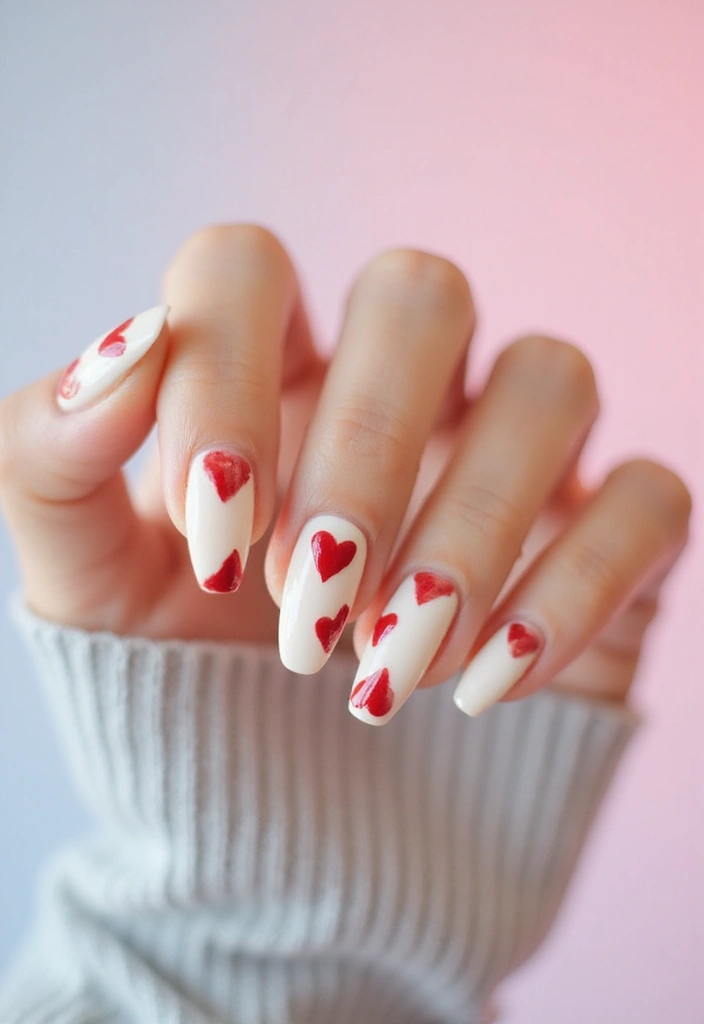
Nothing screams romance more than classic red hearts painted delicately on a neutral background! This timeless design features a bright cherry red hue paired with a soft beige or pale pink base. The contrast enhances the heart’s vibrant appeal.
To create this look, start with a base coat to protect your nails, then apply two coats of your chosen color. Once dry, use a fine nail brush or a dotting tool to draw small hearts on each nail. For added flair, consider adding a glossy topcoat. This design is perfect for date nights or any occasion where you want to express love.
Use a nail art pen for more precision. Experiment with different heart sizes for a playful effect!
Skincare Tip: Keep your cuticles hydrated with a nourishing oil to ensure a clean look for your nail art.
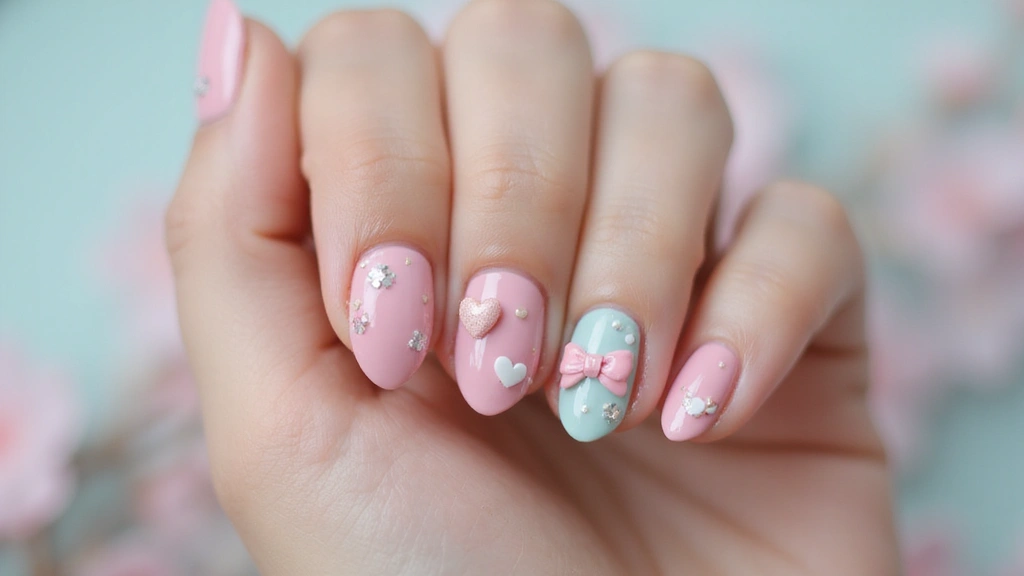
2. Pink Bow Accents
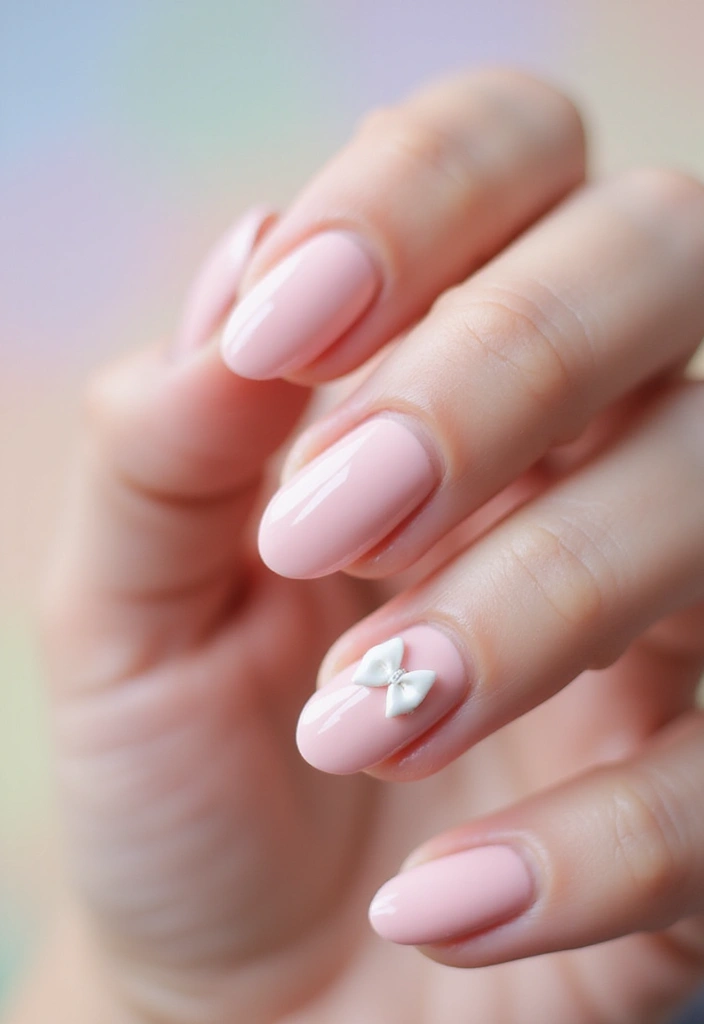
Bows add a playful touch to nail designs, and pink bows are especially charming! This design combines a pastel pink base with tiny white bow accents on alternating nails.
Begin by applying a smooth coat of light pink polish to your nails. After allowing it to dry, use a fine brush to paint small bows on your ring finger or all nails, depending on your preference. A matte topcoat can elevate this look while keeping it chic.
Suggestion: Use glitter polish underneath for a sparkling surprise when the light hits.
Beauty Tip: A light buff before applying polish can enhance the smoothness of your nails, making your design pop!
3. Heart Ombre Nails

Ombre nails are a fun way to blend colors while incorporating heart motifs! This design starts with a gradient effect, transitioning from nude to pink and culminating in tiny hearts on the tips.
Apply a base coat, then use a sponge to dab on your two colors for the ombre effect. Once dried, carefully paint mini hearts at the tips using a fine brush. This design perfectly balances elegance and whimsy!
For a unique twist, try using glitter polish for the final layer. It adds a modern edge to a classic look.
Skincare Note: Always moisturize your fingers and nails before starting your nail art to ensure a smooth application.
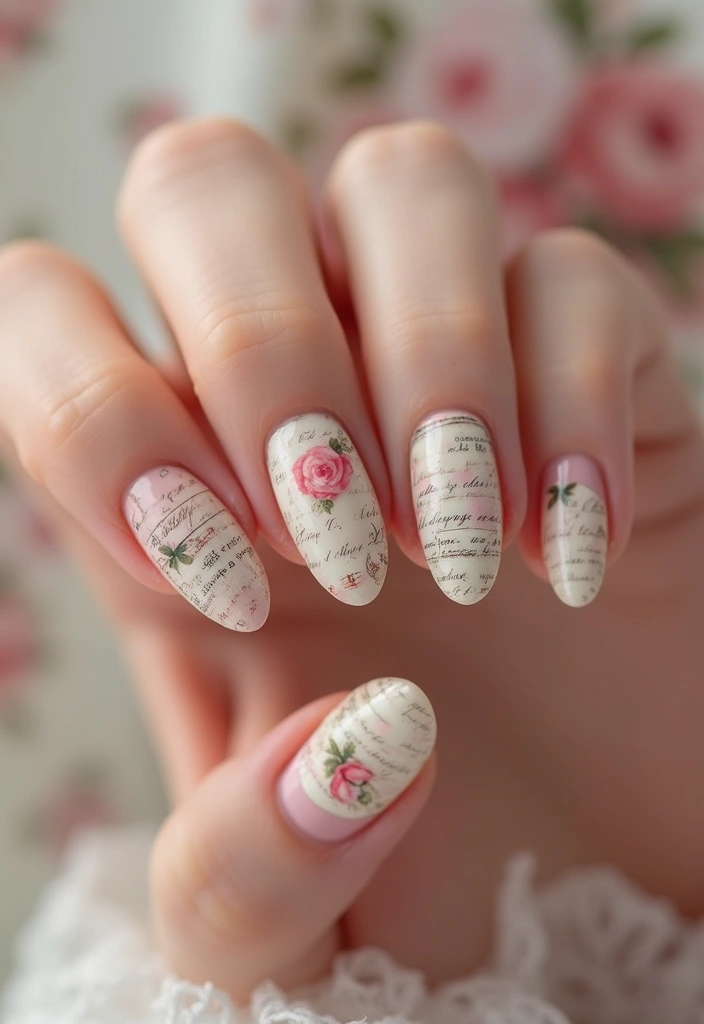
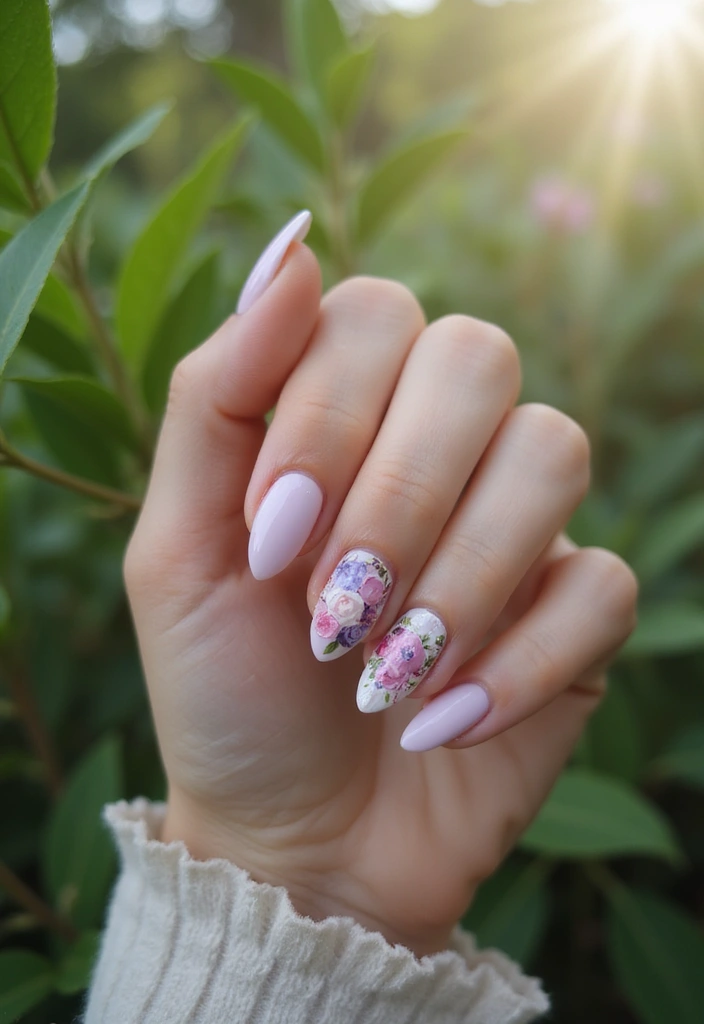
4. Vintage Floral Bow
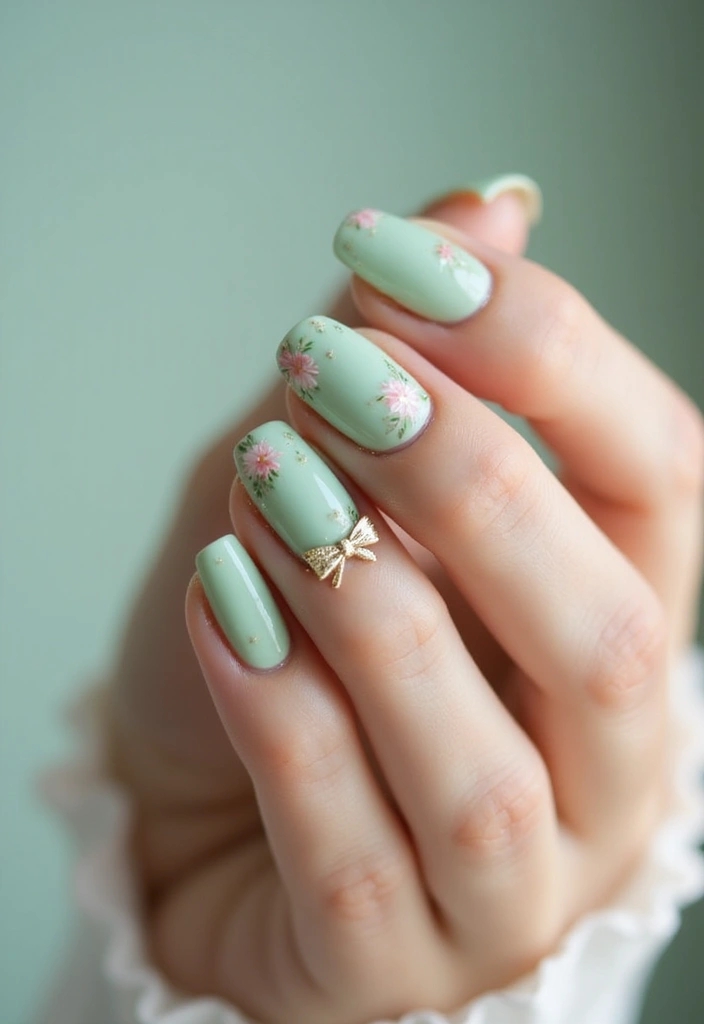
Channel the charm of vintage aesthetics with floral bows that adorn your nails. This design combines soft colors with floral patterns and bows, adding a feminine touch. Think pastel greens, pinks, and whites.
Start by painting your nails in a gentle mint green. Once dried, use a fine detail brush to create small flowers around the base of your nail. Complete the look with tiny bows painted in a contrasting color, like pink or white.
Insight: Floral designs can be made easier with nail stickers if you’re short on time.
Beauty Hack: Always finish with a topcoat to seal your artwork and add shine!
5. Glitter Heart Tips
Add a touch of sparkle with glitter heart tips that shine bright! This unique twist on a classic French manicure brings a fun, flirty vibe to your nails. You’ll need a sheer base and your favorite glitter polish.
Apply a clear or soft pink base coat. Once dry, paint a thin line of glitter polish at the tips of your nails, creating a heart shape toward the center. This look is stunning for parties or festive occasions!
Hint: Use different glitter colors for each nail to create a fun, mismatched look.
Skincare Advice: Keep your hands moisturized for a neat appearance, especially if you’re using glitter.
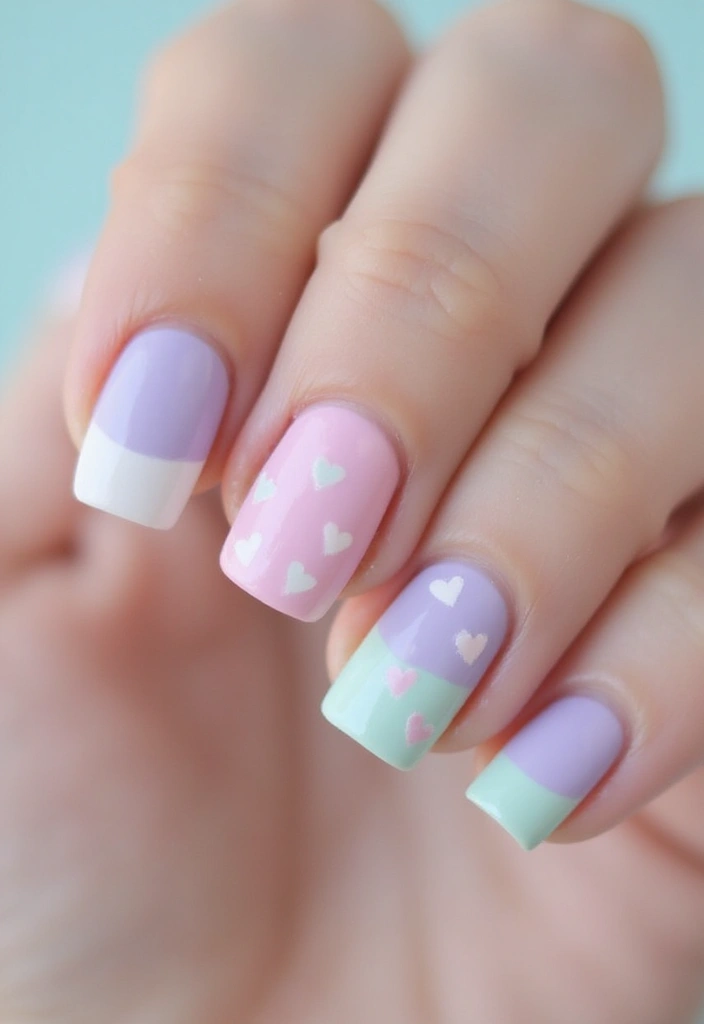
6. Pastel Rainbow Hearts
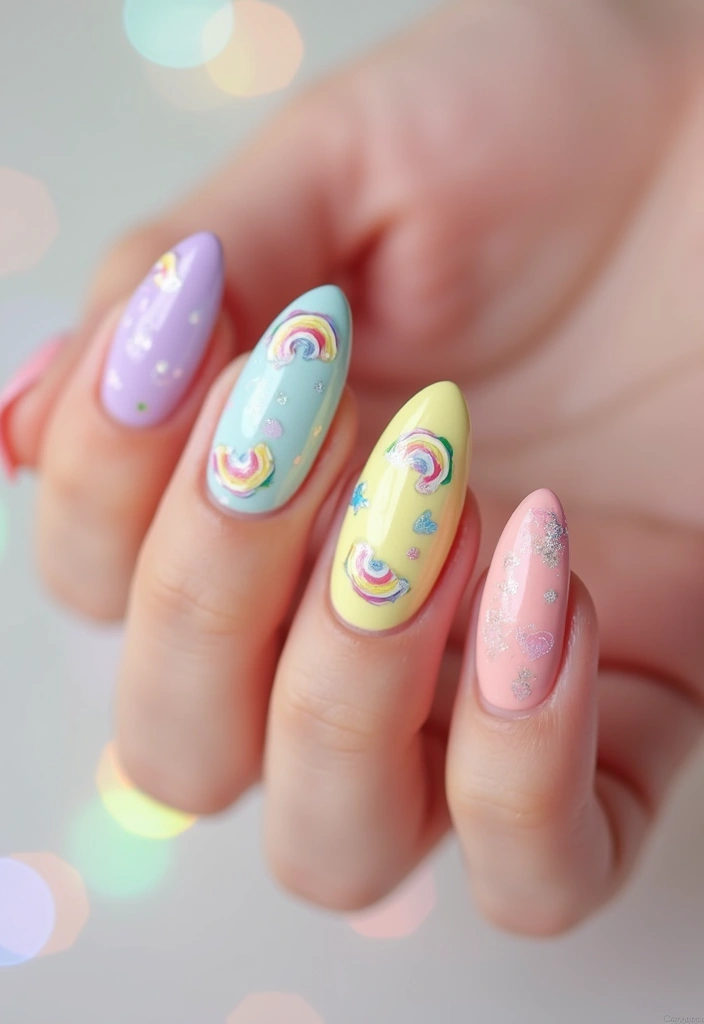
Who said hearts can only be red? Embrace the rainbow with pastel rainbow hearts that are sure to steal the spotlight! This design features a soft base color with a variety of pastel heart accents.
Start with a base coat of soft lavender or light blue. Once dry, use a dotting tool to create hearts in various pastel shades, such as baby pink, mint green, and soft yellow. This playful design is excellent for spring and summer!
The hearts don’t have to be perfect—embrace the whimsy of hand-painted designs.
Beauty Insight: To avoid smudges, let each heart dry before adding another.
7. Bow Tie Nail Art
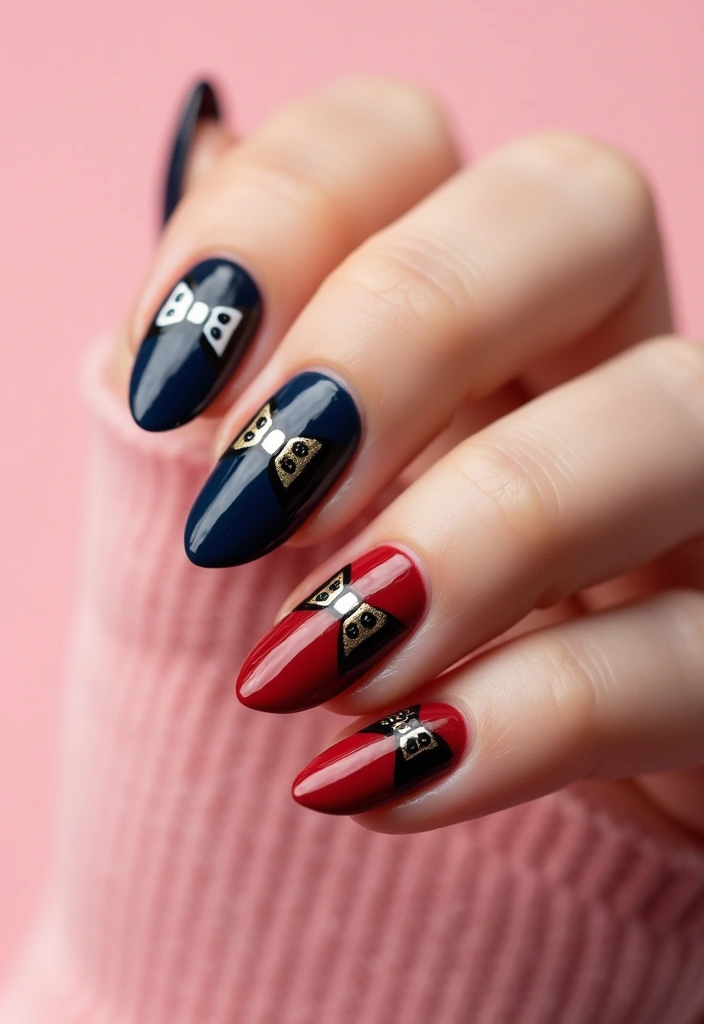
Transform your nails into fashionable accessories with bow tie nail art that’s playful yet chic! This design features a polished base color with contrasting bow-tie accents.
Choose a bold color, such as navy blue or deep maroon, for the base. Then, using a fine brush, create a bow tie design at the base of each nail with a lighter hue, such as cream or white.
Mixing and matching colors for the ties can add a fun twist to your nail art.
Skincare Note: Before applying, ensure your nails are clean and dry for optimal paint adherence.
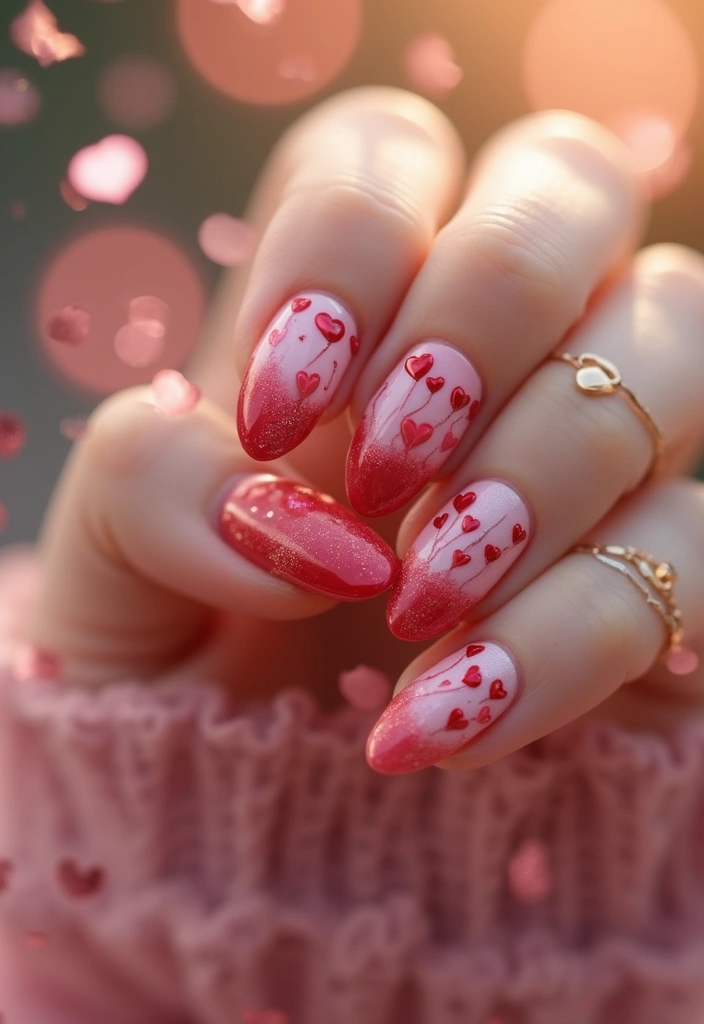
8. Cascade Hearts
For a romantic flair, cascade hearts offer a beautiful and intricate design that’s sure to impress! This look features a soft background with hearts that seem to flow down the nail.
Start with a light pink base. Using a fine brush, draw small hearts at the base of your nail, gradually increasing their size as you reach the tip. This creates a cascading effect that’s visually appealing and unique.
Use contrasting colors for the hearts to make them stand out against the background.
Beauty Tip: A clear topcoat helps to smooth the design and add a glossy finish.
Let your nails tell a love story! Cascade hearts create a dreamy design that flows beautifully, transforming simple elegance into eye-catching art. Embrace your feminine flair and make each nail a canvas of romance!
9. Lace and Hearts
Combine the elegance of lace with sweet heart motifs for a design that embodies femininity! This look pairs a lace pattern with hearts for a sophisticated vibe.
Paint your nails a soft nude or pale pink. Once dry, use white polish or nail art pens to create lace details around the cuticle area, then finish with tiny hearts on the tips or scattered throughout the design.
Adding a touch of shimmer to the hearts can elevate the entire design.
Skincare Insight: Moisturize your cuticles before starting to ensure a clean, well-maintained appearance.
10. Glittering Bow Designs
Add some glam to your nails with glittering bow designs that shine with every movement! This style combines a rich base color with vibrant glitter to create bows that genuinely stand out.
Choose a base color, such as deep plum or emerald green. After applying a base coat, use a glitter polish to create bow shapes on your accent nails. This design is perfect for night-outs and special events!
Use a combination of different glitter sizes to add depth and texture to your bows.
Beauty Tip: Always finish with a topcoat to seal in the glitter and enhance longevity.
11. Sweetheart Nails
Capture the essence of romance with sweetheart nails that feature adorable heart designs along with sweet pastel colors! This design is sure to charm.
Start with a baby blue or light pink base. Use a dotting tool to create hearts on every other nail in contrasting shades. This playful pattern celebrates love and joy!
You can pair this look with simple gold or silver accents for added sophistication.
Skincare Insight: Always apply a nourishing cuticle oil after painting to keep your nails healthy and hydrated.
12. Elegant Heart French Tips
Take the classic French manicure to the next level with elegant heart-shaped tips that add a romantic touch! This design is sophisticated yet playful, perfect for any occasion.
Apply a clear or soft pink base coat to your nails. Then, using a small brush, create a heart shape at the tips of each nail in white or any color you desire. This unique twist maintains the elegance of French tips while offering a charming and appealing look.
Consider using a nail guide for precision while creating the heart shape.
Beauty Advice: Regularly moisturize your hands to keep them looking fresh and smooth, enhancing the overall appearance of your nails.
13. Heartbeat Nail Art
Express your personality with heartbeat nail art that combines vibrant colors with heart designs! This fun look is perfect for those who want to showcase their love for life.
Choose a bold base color, like cherry red or royal blue. In addition to this color, use black or white polish to create a heartbeat line that culminates in a heart shape on one or two accent nails.
Use a nail striper brush for more control over the heartbeat line.
Skincare Hack: Always apply a base coat to protect your nails and prevent staining from vibrant colors.
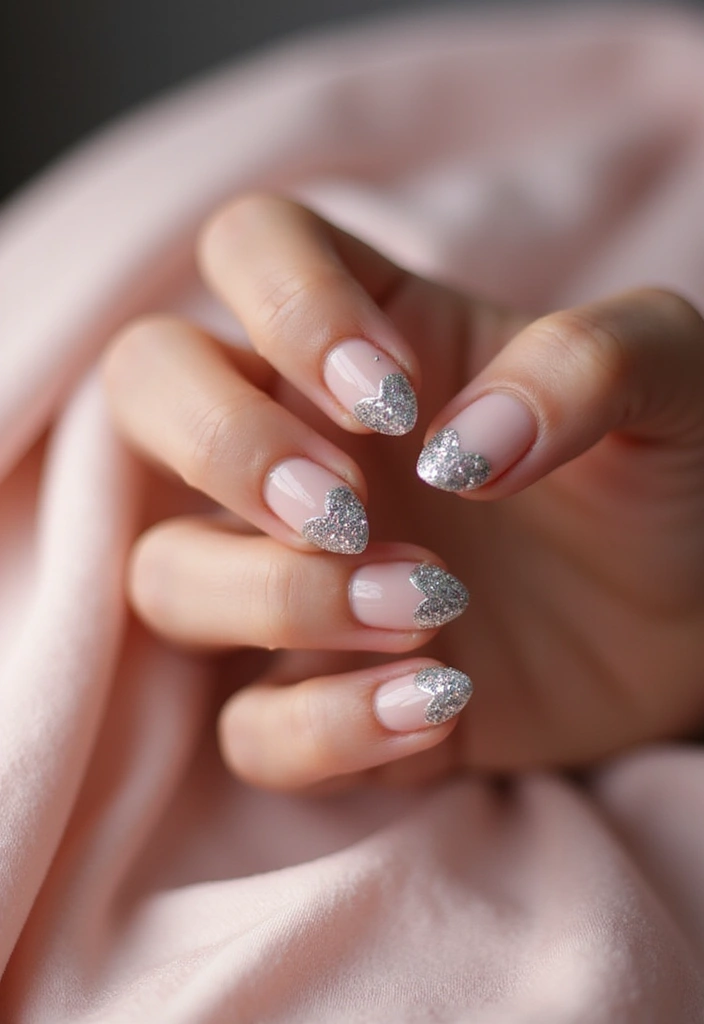
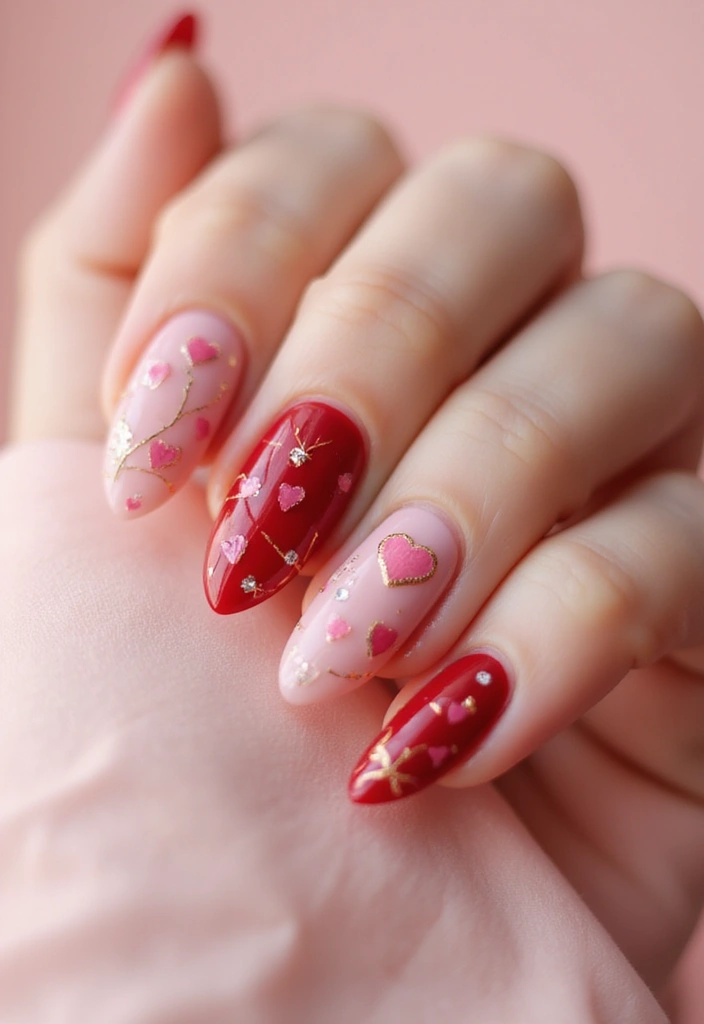
14. Crystal Heart Accents
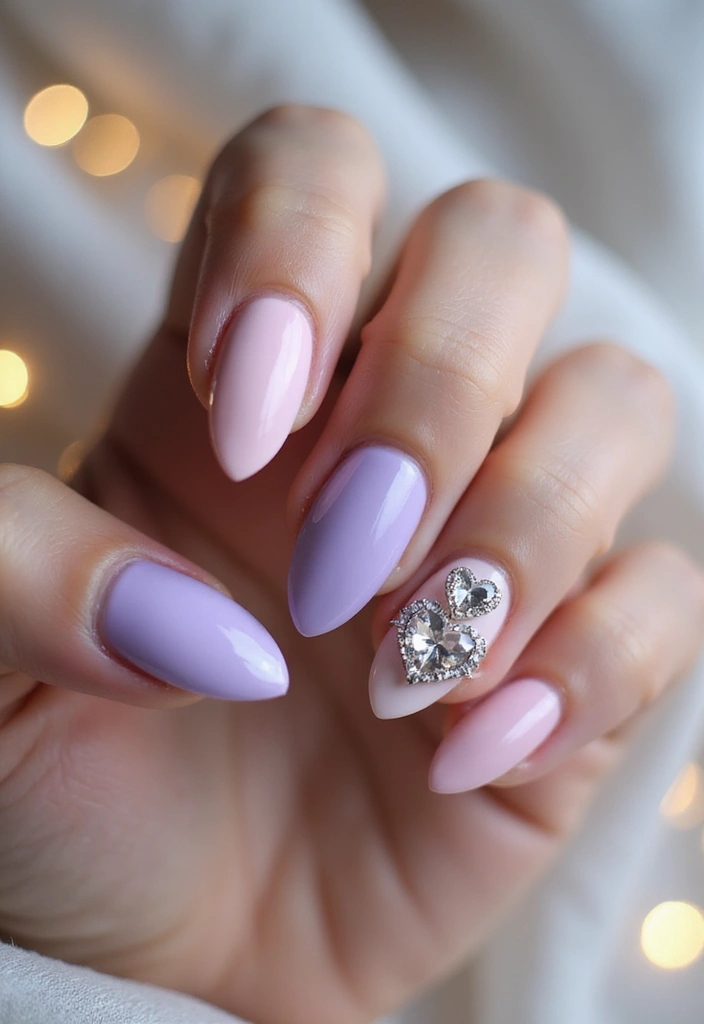
Elevate your nails with crystal heart accents that add a touch of luxury to any manicure! This design combines chic simplicity with sparkling elegance.
Begin with a nude or soft pink base. After applying your base coat, add tiny crystal heart embellishments to one or two accent nails. This design is perfect for a glamorous night out or any special occasion!
Use a clear topcoat to seal your crystals and keep them secure.
Beauty Insight: Regular nail care and moisturizing ensure your nails look great and stay healthy, making your nail art truly stand out.
Sparkle with style! Adding crystal heart accents to your nails isn’t just a design choice; it’s your secret to turning heads and feeling fabulous on any occasion.
15. Cutesy Cartoon Hearts
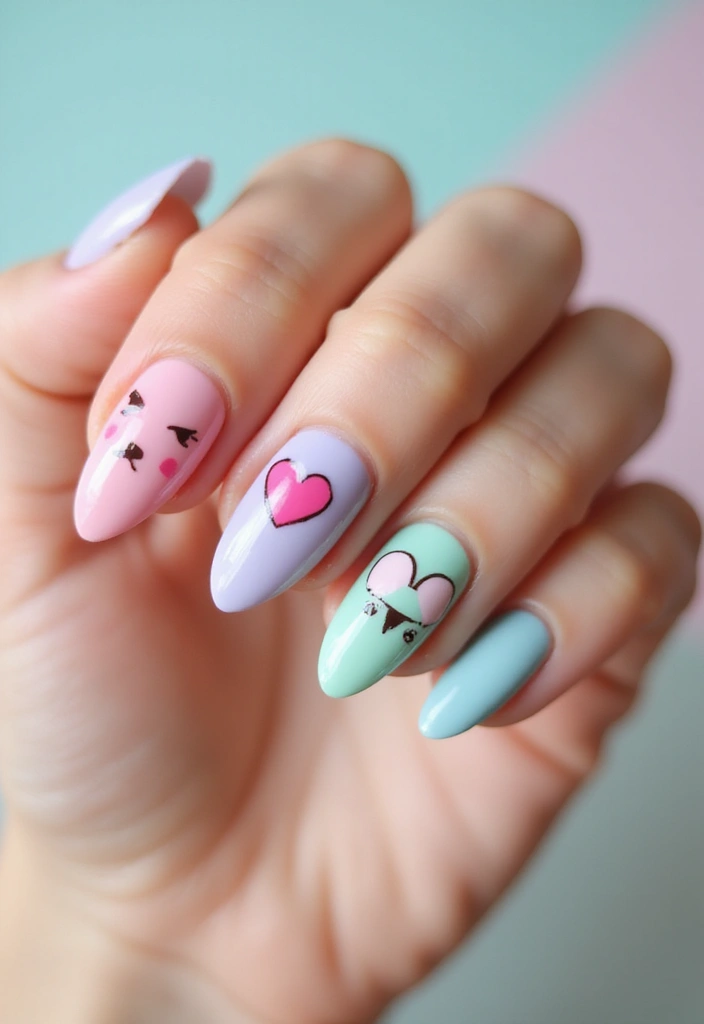
Get playful with cutesy cartoon hearts that bring a fun vibe to your nails! This design features adorable heart faces and bright colors, perfect for those who love whimsical nail art.
Choose a vibrant base color, such as yellow or sky blue, and paint your nails evenly. Once dry, use a fine brush to create cute heart faces with smiling expressions. This design is perfect for casual outings and adds a cheerful touch!
Experiment with different expressions or add fun accessories, such as tiny bows or glasses, to your heart’s content.
Skincare Note: Keeping your nails hydrated ensures that your playful designs remain fresh.
16. Minimalist Heart Nails
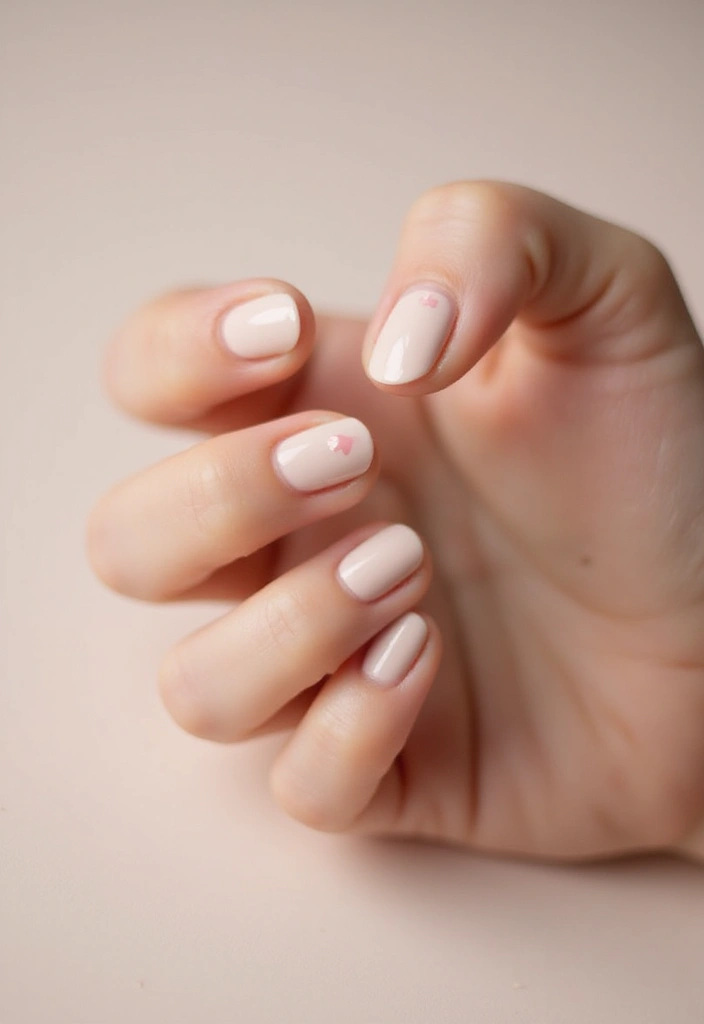
For those who adore simplicity, minimalist heart nails offer a chic and understated look. This design uses clean lines and subtle colors, making it perfect for any occasion.
Start with a soft beige or light gray base coat. Using a fine brush, create tiny hearts in one corner of each nail, keeping the rest of the nail bare. This minimalist approach is elegant yet expressive.
Pair this design with a matte topcoat for an ultra-modern finish.
Beauty Insight: Regularly buff your nails before applying polish for a smooth and polished appearance.
17. Layered Heart Designs
Layered heart designs create a beautiful depth to your nail art, making them stand out! This technique combines different colors to form heart shapes stacked on top of each other.
Choose a base color, such as pale pink, and let it dry. Then, use a fine brush to paint a larger heart in white, followed by a smaller heart in red on top. This design creates a stunning 3D effect while remaining graceful.
Use a toothpick or dotting tool for the smaller heart for more precision.
Skincare Advice: Don’t forget to apply cuticle oil regularly to keep your nails hydrated and healthy.
18. Love Letter Nails
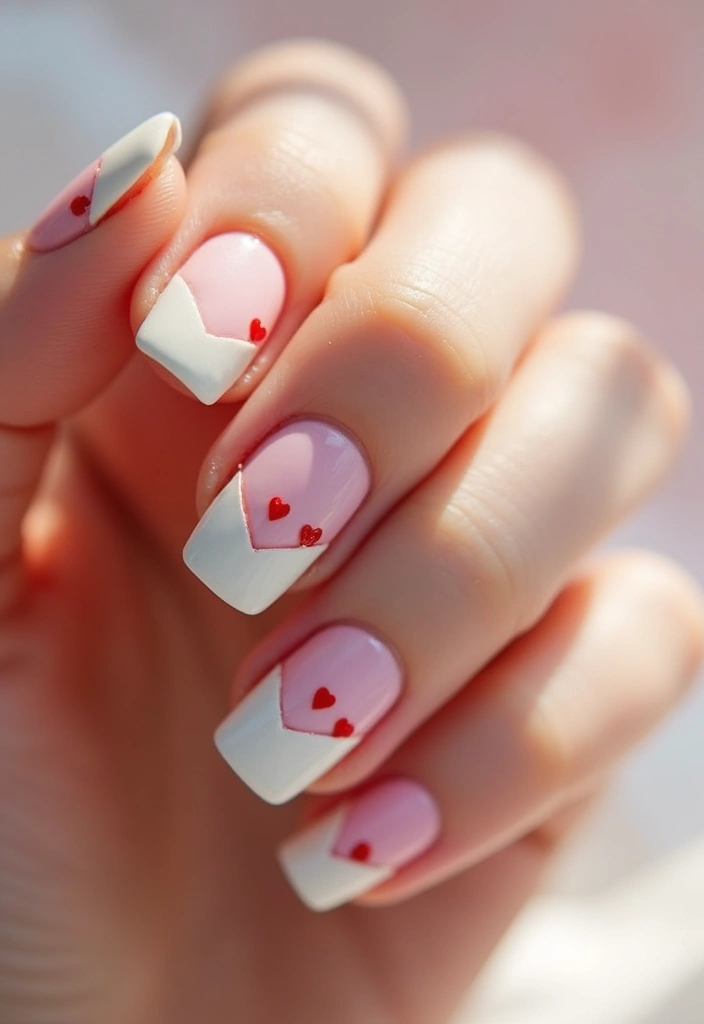
Express your affection with love letter nails that feature tiny envelopes and hearts! This design is both cute and imaginative, perfect for lovers of all things romantic.
Start with a soft white or pink base coat. Once dry, paint small envelope shapes on an accent nail and add tiny hearts floating from them. These designs are playful while still keeping a charming appeal.
Use a fine brush for creating detailed envelope designs.
Beauty Tip: Keep your nails well-shaped for the best presentation of your nail art.
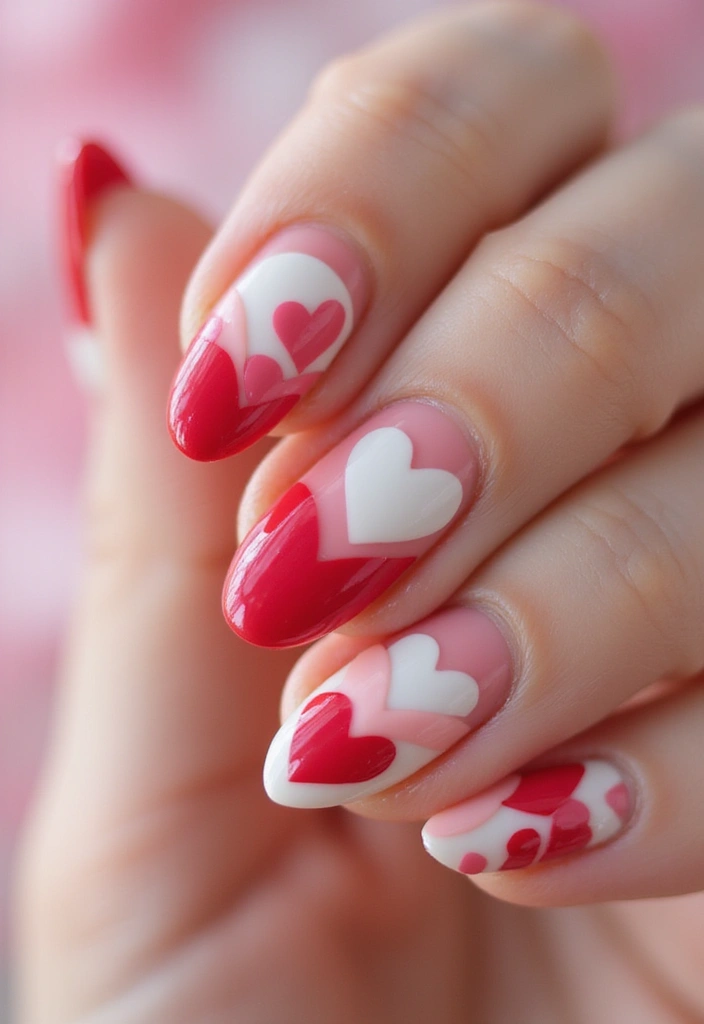
19. Color Block Hearts
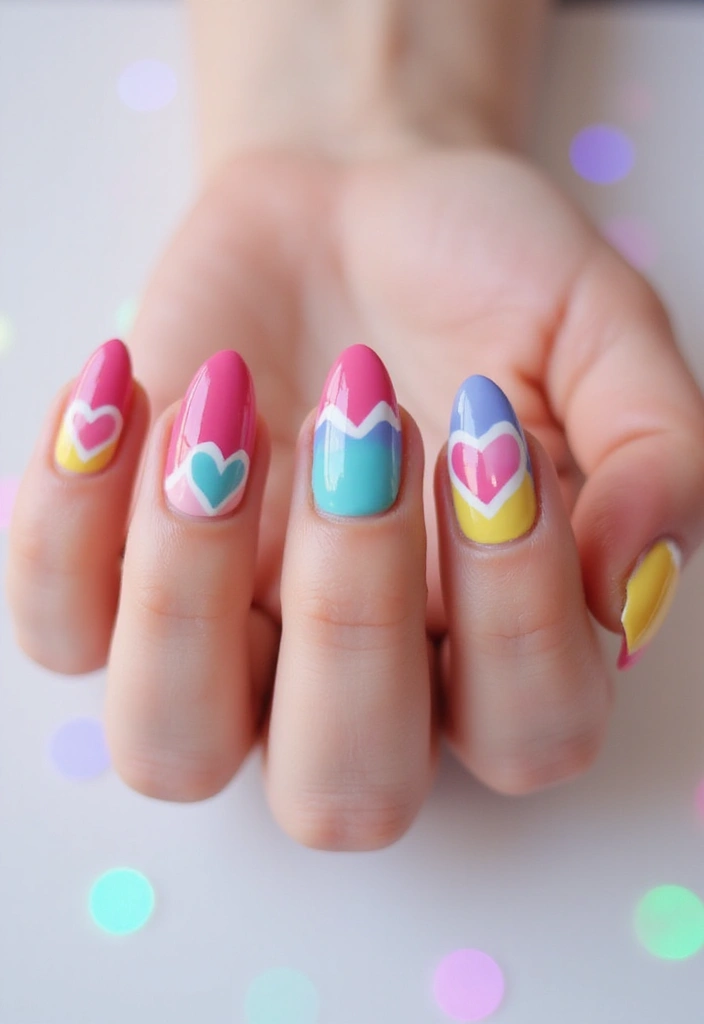
For those who enjoy a bold statement, color block hearts combine vibrant colors with heart shapes for a striking look! This design is playful and energetic, ideal for the fun-loving nail art enthusiast.
Choose an eye-catching combination of colors, like hot pink and turquoise. Paint each nail with one color, then use a contrasting shade to create heart shapes on alternating nails. This vibrant combination is perfect for summer!
Mix and match different heart sizes for added diversity.
Skincare Insight: Don’t forget to moisturize your cuticles for a polished look.
20. Neon Hearts
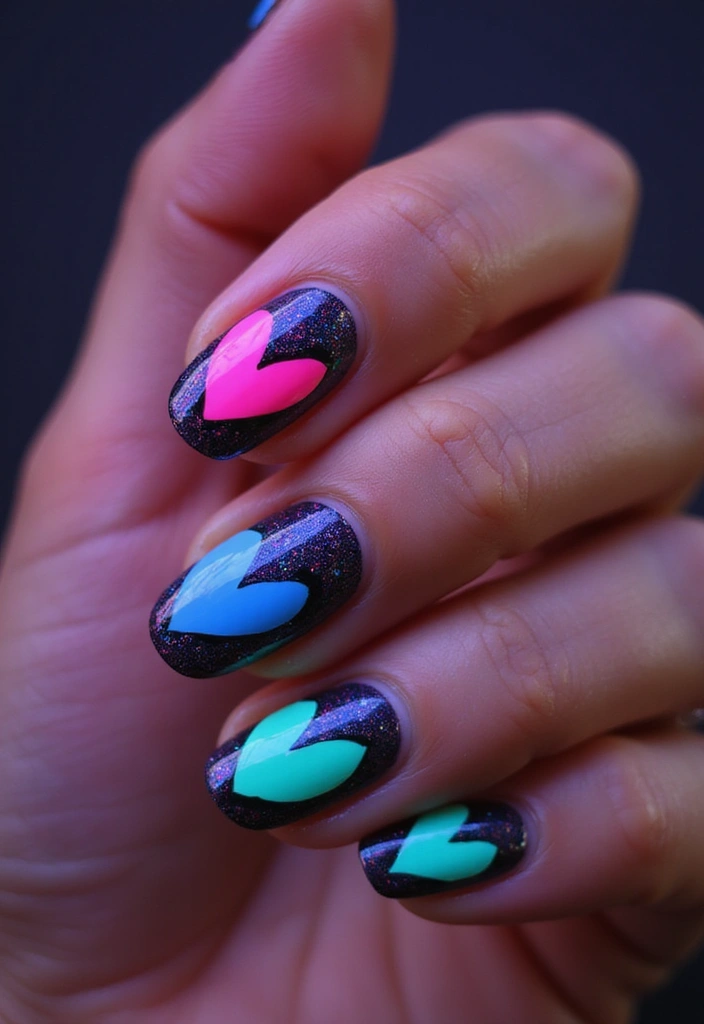
Turn heads with neon hearts that vibrantly pop against your nails! This fun and energetic design is ideal for those who love bright, bold colors.
Start with a black base coat for maximum contrast. Once dry, choose bright colors for your hearts, such as electric pink or lime green, and paint them randomly across your nails. This standout design is sure to catch attention!
Use a matte topcoat to add a modern twist to your neon colors.
Beauty Tip: Regularly clean your nails to prevent staining from bold colors.
Brighten your day with neon hearts! A pop of color on your nails not only turns heads but also boosts your mood. Don’t be afraid to express your style with bold, vibrant designs!
21. Watercolor Hearts
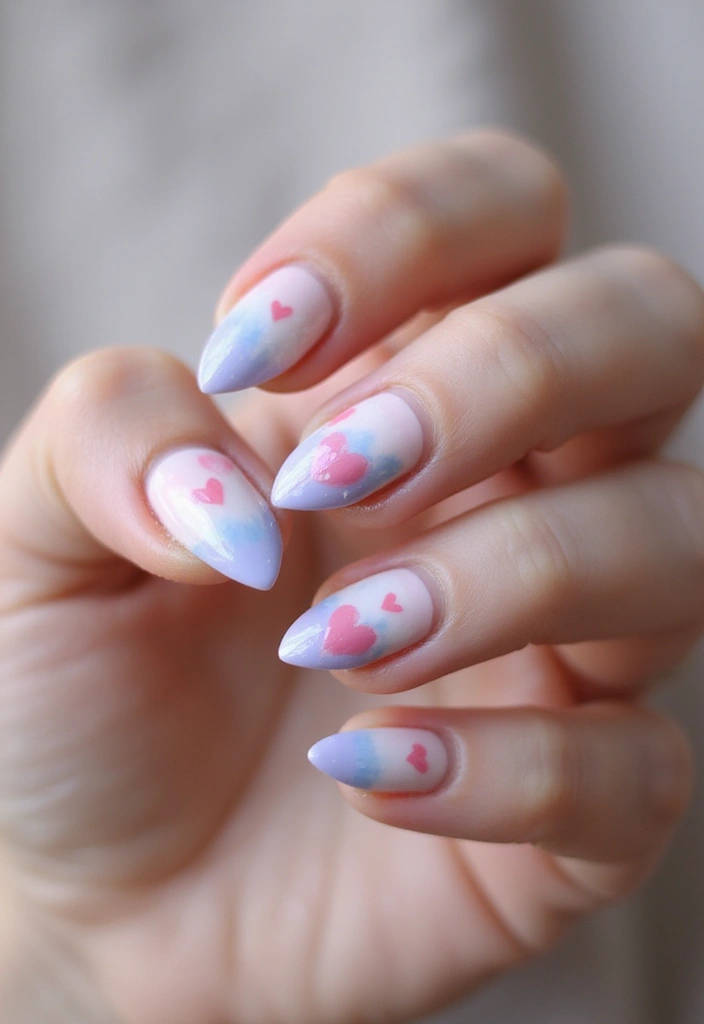
Dive into creativity with watercolor hearts that bring an artistic touch to your nails! This design mimics the soft, blended effect of watercolor paints.
Start with a light background, like pale lavender or mint green. Then, using a sponge or a brush, dab on colors in a heart shape, blending them softly to achieve a watercolor effect. This design is dreamy and unique!
Consider adding subtle touches of gold or silver for an elegant effect.
Skincare Insight: Regularly moisturize your hands during the painting process to keep them looking great.
22. Heart and Arrow Combination
Combine hearts and arrows for a trendy design that tells a story! This design is ideal for those who want to showcase their playful side while maintaining a stylish look.
Choose a soft base color, like peach or light blue. Then, paint hearts near the base of your nails, connecting them with tiny arrows that extend toward the tips. This design is eye-catching and stylish!
Use a thin brush for the arrows to achieve a delicate appearance.
Beauty Insight: Remember to let each layer dry before adding more details to avoid smudging.
23. Cute Animal Hearts
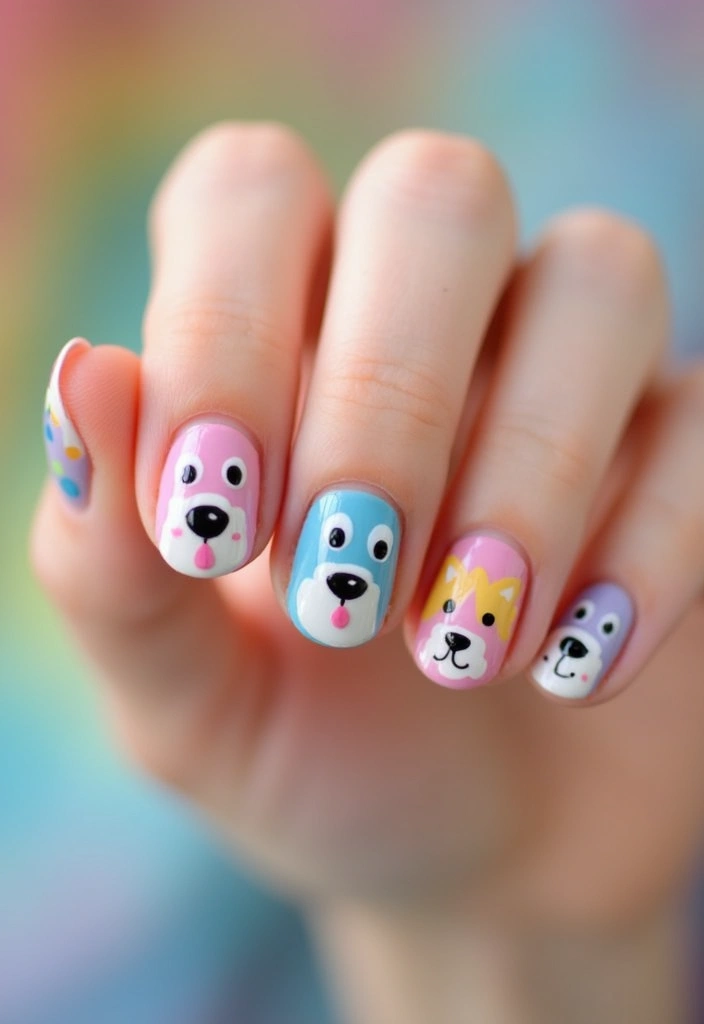
For animal lovers, why not incorporate cute animals with hearts into your nail art? This whimsical design combines your love for creatures and romance in one.
Choose a soft base color. Paint cute animal faces, like cats or puppies, with hearts around them. This cheerful design is sure to bring a smile and is perfect for casual outings!
Try using nail stickers for animal faces if you’re short on time.
Skincare Advice: Regular manicures will maintain healthy and adorable nails to complement your designs.
24. Simple Heart Dots
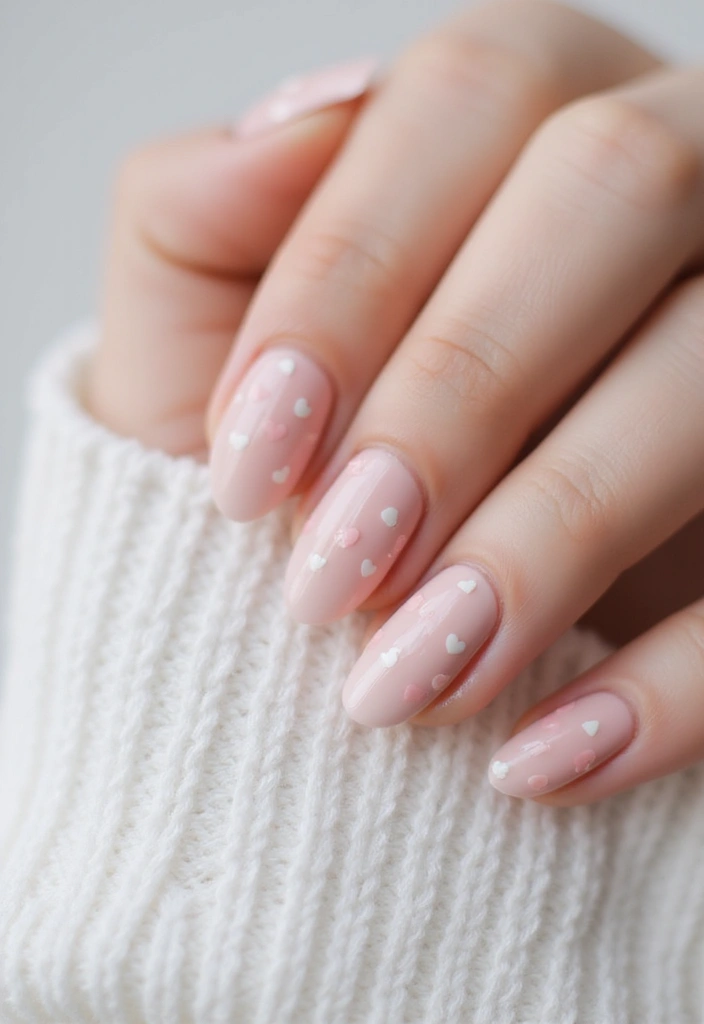
If you’re looking for a quick and easy design, simple heart dots are the perfect choice! This minimalist design is both charming and straightforward, making it ideal for any occasion.
Start with a clear or light base coat. Use a dotting tool to create small heart shapes scattered across your nails, either randomly or in a pattern. This design is quick to do and looks effortlessly chic!
Use different colors for the hearts to make it more vibrant.
Beauty Insight: Apply a topcoat for longevity and shine.
25. Vintage Love Letters
Jump back in time with vintage love letter designs that tell a story! This romantic nail art features envelope shapes and heart motifs reminiscent of classic love notes.
Choose a soft cream or pale pink base. Once dried, use a fine brush to create tiny envelope shapes on accent nails, with hearts floating above them. This design is incredibly charming and perfect for romantic occasions.
Add a touch of gold paint to outline the envelope for an elegant finish.
Beauty Tip: Keep your nails clean and filed for the best presentation of your art.
26. Peeking Hearts
Add a playful twist to your nails with peeking hearts that seem to hide just beneath the surface! This fun design is great for those who enjoy a bit of mystery in their nail art.
Start with a solid base color. Using a fine brush, paint half of a heart on each nail, so it looks like it’s peeking out from the edge. This design is subtle yet charming!
Use contrasting colors to make the hearts stand out more.
Skincare Note: Moisturizing your nails and cuticles is crucial for maintaining a neat appearance.
27. Shimmering Heart Patterns
Bring a touch of sparkle to your nails with shimmering heart patterns! This design combines shine with love for a glamorous look.
Choose a dark base color, such as navy or black. Once dry, use a glitter polish to create heart shapes or patterns across your nails. This design is sure to catch the light and attention at any gathering.
Layering different glitter sizes can create a stunning effect.
Beauty Insight: Always apply a base coat to protect your nails from staining.
28. Floral Heart Wreaths
Combine floral designs and hearts by creating floral heart wreaths! This design seamlessly combines nature and love in a sophisticated manner.
Start with a light base color. Then, use a fine brush to create small heart shapes intertwined with tiny flowers around them, forming a wreath on your nails. This romantic design is perfect for spring or summer occasions!
Use pastel colors for a softer effect.
Skincare Insight: Regular nail care ensures your nails look great and provide a perfect canvas for your art.
29. Hearts with Stripes
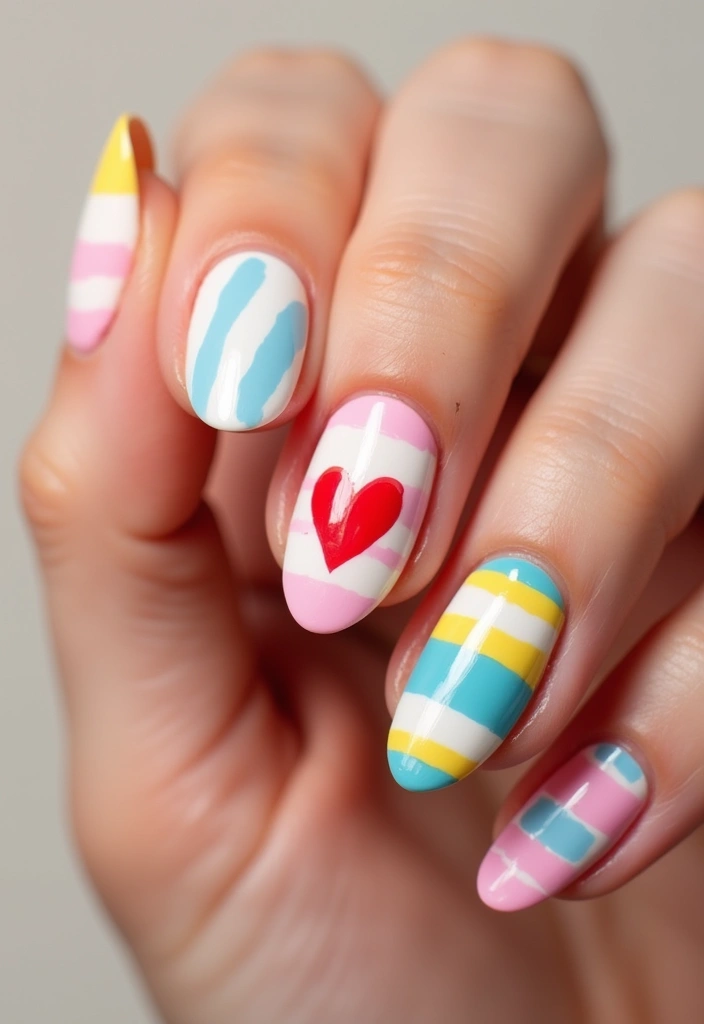
Spice up your nail art with hearts and stripes for a design that’s both fun and chic! This design incorporates classic stripes alongside heart motifs, adding a playful touch.
Choose a pastel base color and let it dry. Use a striping brush to paint bold stripes in a contrasting color. Then, add tiny hearts in between the stripes for a playful design that catches the eye.
Use different colors for the stripes and hearts to create a unique look.
Beauty Insight: Always remove old polish and hydrate your nails before starting your art.
30. Heartbeat Song Design
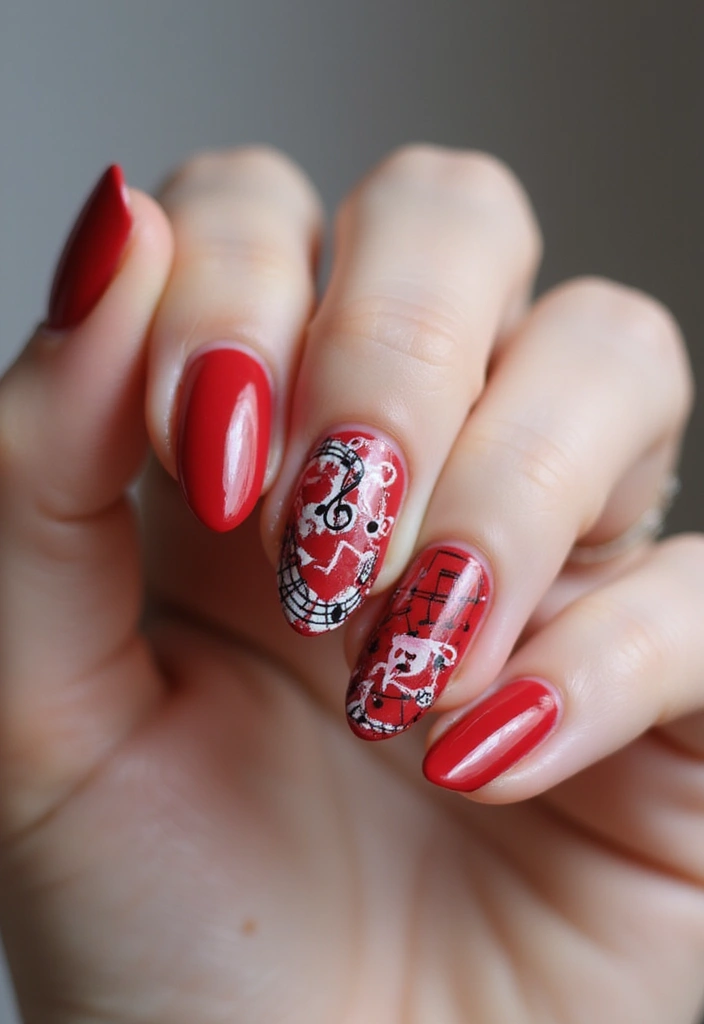
For music lovers, heartbeat song designs that incorporate musical notes and heart shapes bring together two passions! This creative design is ideal for individuals who want to showcase their love for music.
Use a light base color and allow it to dry thoroughly. Then, draw a heartbeat line that progresses into heart shapes, interspersed with musical notes, on all or some of your nails. This design is melodious and unique!
Use a fine brush to achieve the delicate lines.
Skincare Note: Hydrate your nails to keep them looking fresh before painting.
31. Glowing Hearts
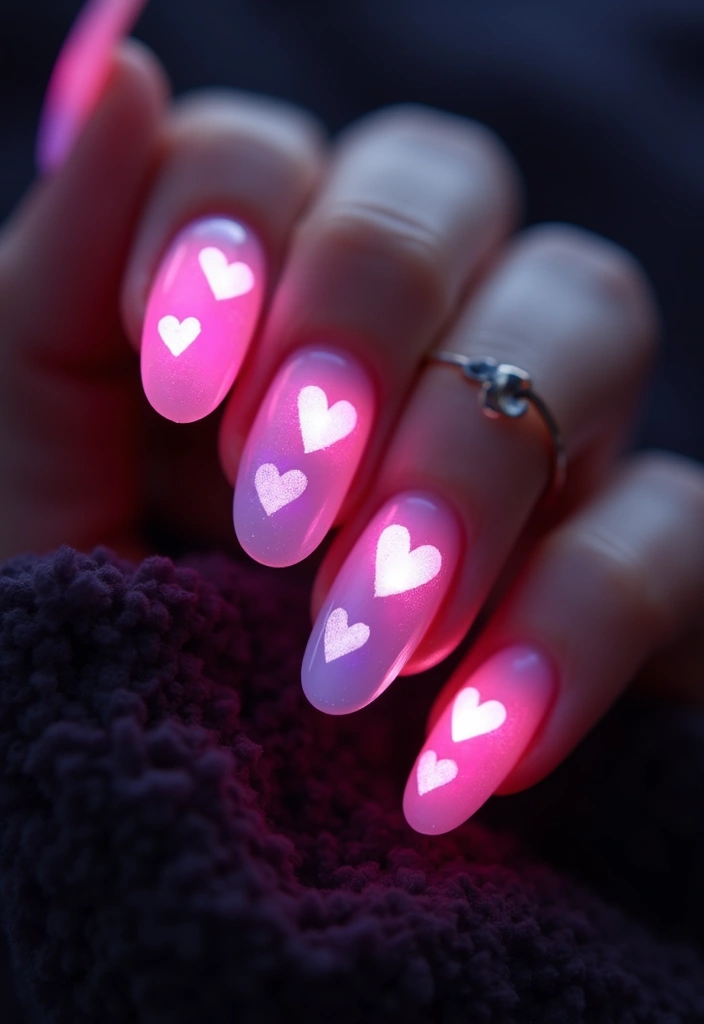
Bring a glow to your nails with glowing hearts that shine in the dark! This fun design adds a twist of excitement, especially for nighttime outings.
Start with a light base color. Once dried, use glow-in-the-dark nail polish to paint hearts on your nails, which will glow in the dark when the lights go out! This playful design is perfect for parties.
Ensure your glow polish is thoroughly applied for the best results.
Beauty Insight: Regular application of cuticle oil can help prolong the life of your polish.
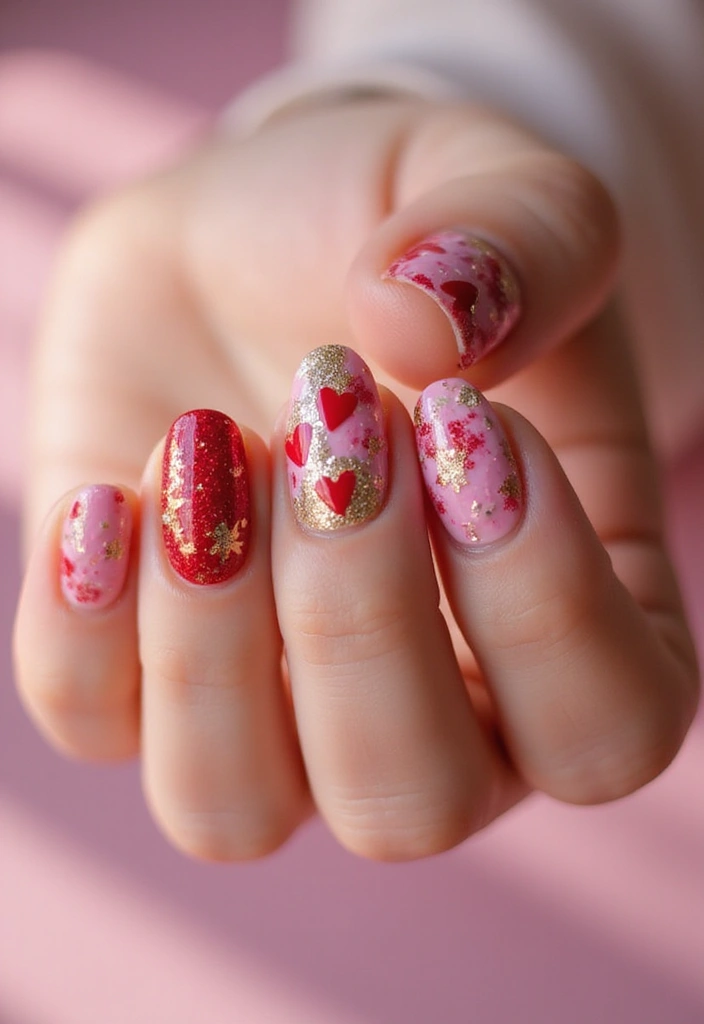
32. Heart-Love Mix
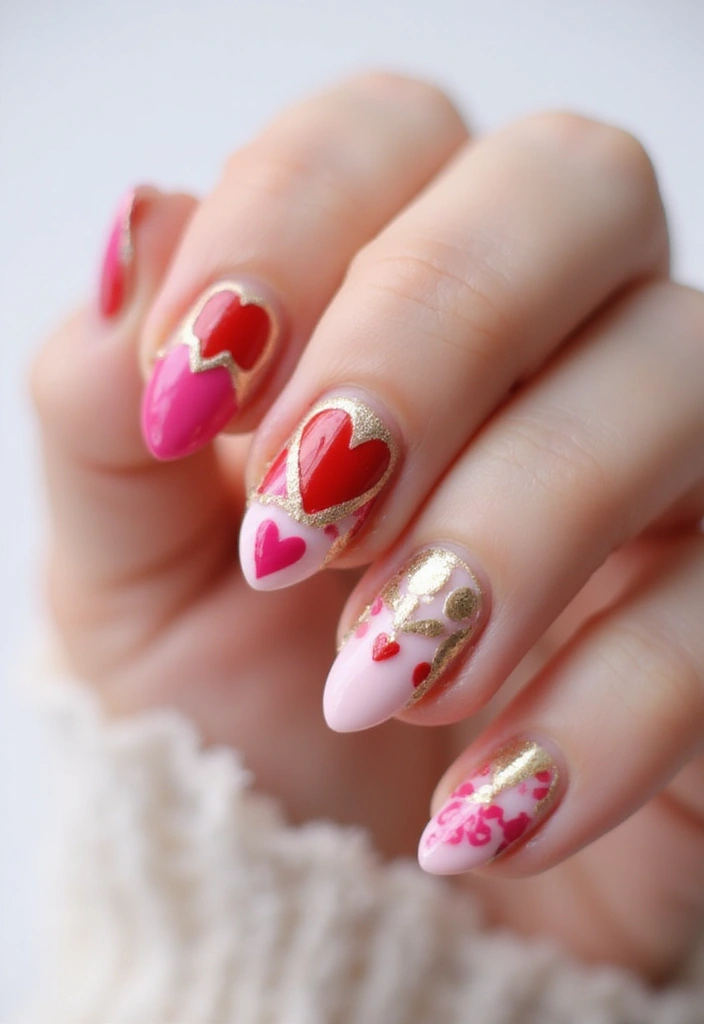
Show off your love for nail art with a heart-love mix that combines hearts, love symbols, and vibrant colors! This design is perfect for the romantic at heart.
Select a bright base color and let it dry. Paint various love symbols, including hearts and the word ‘love’, on your accent nails. This design can be charmingly chaotic or perfectly organized, depending on how you want to express yourself!
Use a small brush for precision when writing or drawing.
Skincare Advice: Keeping your nails healthy is essential, so regular moisturizing is key.
33. Whimsical Heart Beats
Capture love’s rhythm with whimsical heartbeats that dance across your nails! This fun design combines heart shapes with lively patterns.
Choose a base color that contrasts with your heart beats, like pastel blue for bright pink hearts. Then, create heart shapes connected by lines to represent beats, making the design feel alive! This playful design is sure to delight.
Use nail brushes or dotting tools for precision in creating the heart shapes.
Beauty Tip: Regular nail care helps keep your nails looking neat and polished, ideal for your designs.
Let your nails dance to the rhythm of love! With whimsical heart beats and playful patterns, your fingertips will steal the spotlight. Remember, nail care is your secret to keeping these beauties alive!
34. Mosaic Heart Patterns
Mosaic heart patterns offer an artistic approach to nail art, combining colors and shapes to create a stunning effect. This design enables you to experiment with various hues to create eye-catching patterns.
Start with a clear or light base coat. Then, use different colored polishes to create small mosaic pieces in heart shapes on your nails. This design is both creative and fun!
Use a thin brush for more detailed work.
Skincare Insight: Clean nails before starting your art to ensure a smoother application.
35. Heart Balloon Designs
Celebrate love with heart balloon designs that bring joy and whimsy to your nails! This fun design is perfect for any cheerful occasion.
Choose a soft or bright base color for your nails. Once dry, paint tiny heart-shaped balloons tied with strings on one or two accent nails. This playful design is sure to elicit smiles!
Add clouds or sunshine in the background for a more festive touch.
Beauty Insight: Always hydrate your nails post-application for added shine and health.
36. Love in the Details
The final touch on our list is all about love in the details! This nail design features tiny hearts and delicate detailing that represent the essence of romance.
Select a neutral base coat and allow it to dry completely. Then, use a fine brush to add tiny hearts in delicate patterns, like swirls or dots. This subtle yet romantic design is perfect for any occasion.
Layering different colors can add depth to your design.
Skincare Note: Regularly moisturizing your hands keeps everything looking fresh and elegant.
Conclusion
There you have it—36 dazzling coquette nail art ideas that incorporate hearts, bows, and all things feminine! Each design offers a unique way to express your personality and creativity.
Whether you’re going for a classic look or something bold and playful, these nail art ideas are sure to inspire you. Grab your favorite polishes and let your nails tell your story!
Happy painting! Don’t forget to share your creations and have fun exploring the whimsical world of nail art.
Frequently Asked Questions
What are some beginner-friendly nail art ideas for coquettes?
If you’re new to nail art, start with simple designs, such as classic red hearts or simple heart dots. These designs require minimal skills and can be achieved with just a few tools. For a classic red heart design, paint a soft beige base and add tiny red hearts for a romantic look. For heart dots, a light base with dots of color creates a charming effect without the need for intricate techniques.
How can I make my nail art last longer?
To ensure your coquette nail art looks fabulous for a longer time, start with a base coat to protect your nails and enhance adhesion. Finish with a high-quality top coat to seal in the design and add shine. Additionally, avoid exposing your nails to excessive water and harsh chemicals for longer-lasting results!
What tools do I need for coquette nail art designs?
To create beautiful coquette nail art, you’ll need some basic tools, including a nail polish brush, fine-tipped brushes for detailed work, dotting tools for creating heart shapes, and nail tape for clean lines. Don’t forget a good quality top coat to finish your designs and keep them looking fresh!
Can I incorporate nail care into my nail art routine?
Absolutely! Combining nail care with your nail art routine is essential. Start by moisturizing your cuticles and applying a strengthening base coat before you begin painting. This will help keep your nails healthy while you explore different aesthetic & style-based nail trends. Regularly hydrating your nails and hands can also enhance the overall appearance of your art!
How do I remove nail art without damaging my nails?
To safely remove your coquette nail art, use an acetone-free nail polish remover, which is gentler on your nails. Soak a cotton ball with the remover, place it on your nail, and wrap it in foil for about 10-15 minutes. This will help dissolve the polish without excessive scrubbing, keeping your nails healthy and intact!